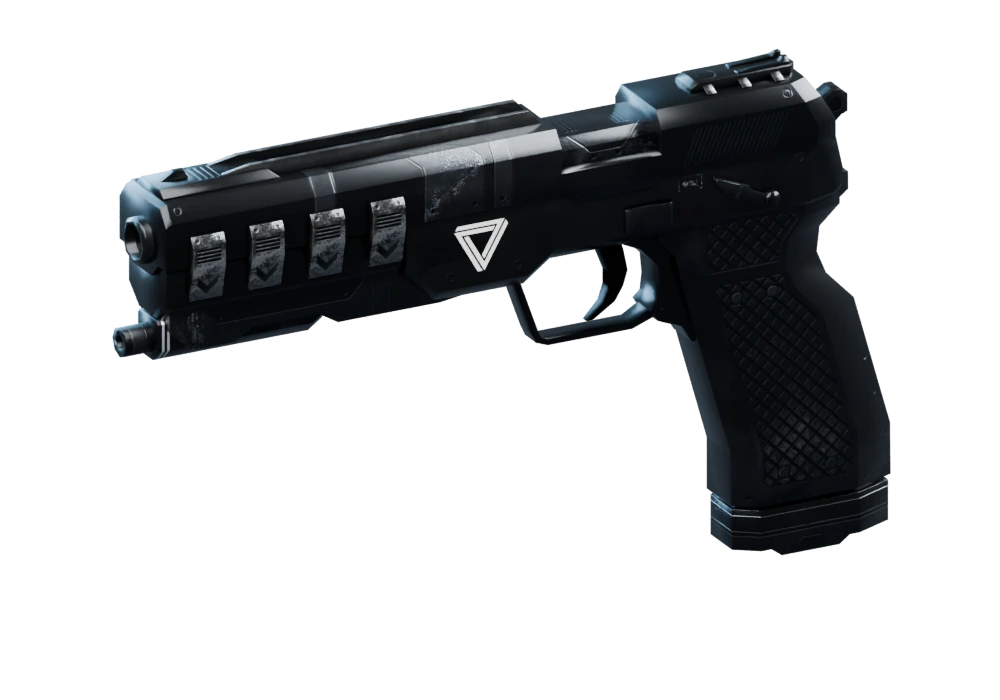
Precision sidearm
Pistol
Your first line of defense. Pick off incoming droids with deliberate shots and keep a dependable sidearm close.
Pistol 1A sci-fi VR shooter
Hold the line. Own the void.
The galaxy is overrun by hostile machines. Step into your headset, arm yourself, and turn overwhelming odds into your next upgrade.
PC VR Single player Tracked Head & Controllers
01 / The battlefields
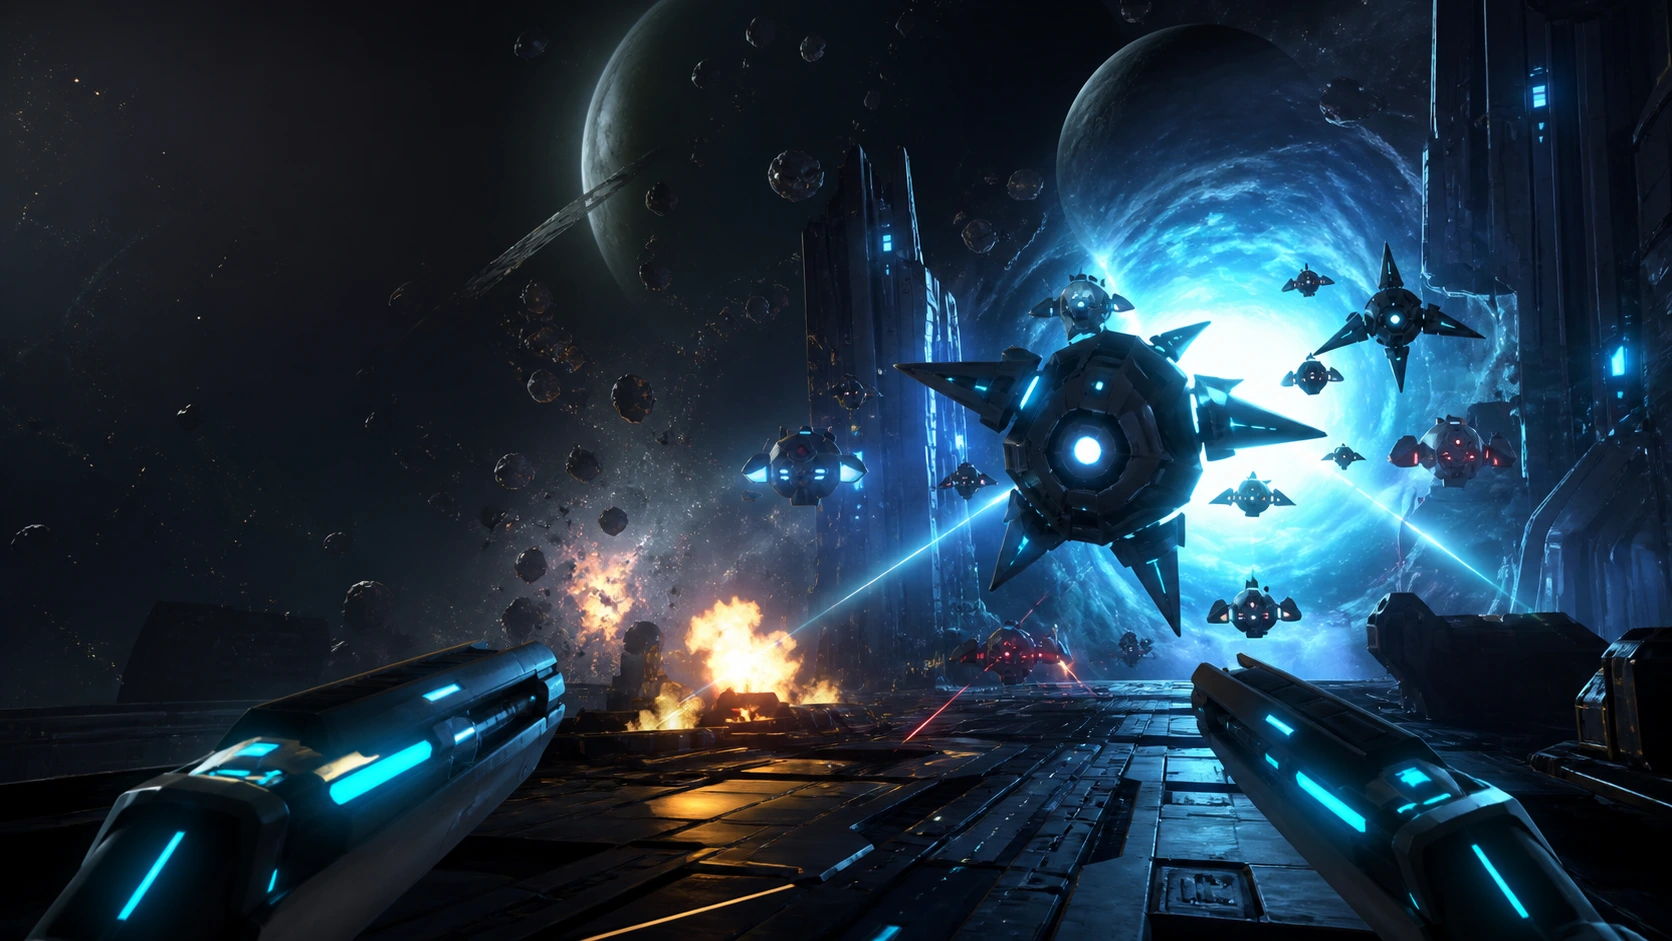
Alien landscapes. Exposed platforms. Machines closing in from every direction. Every assignment takes you further into a galaxy worth fighting for.
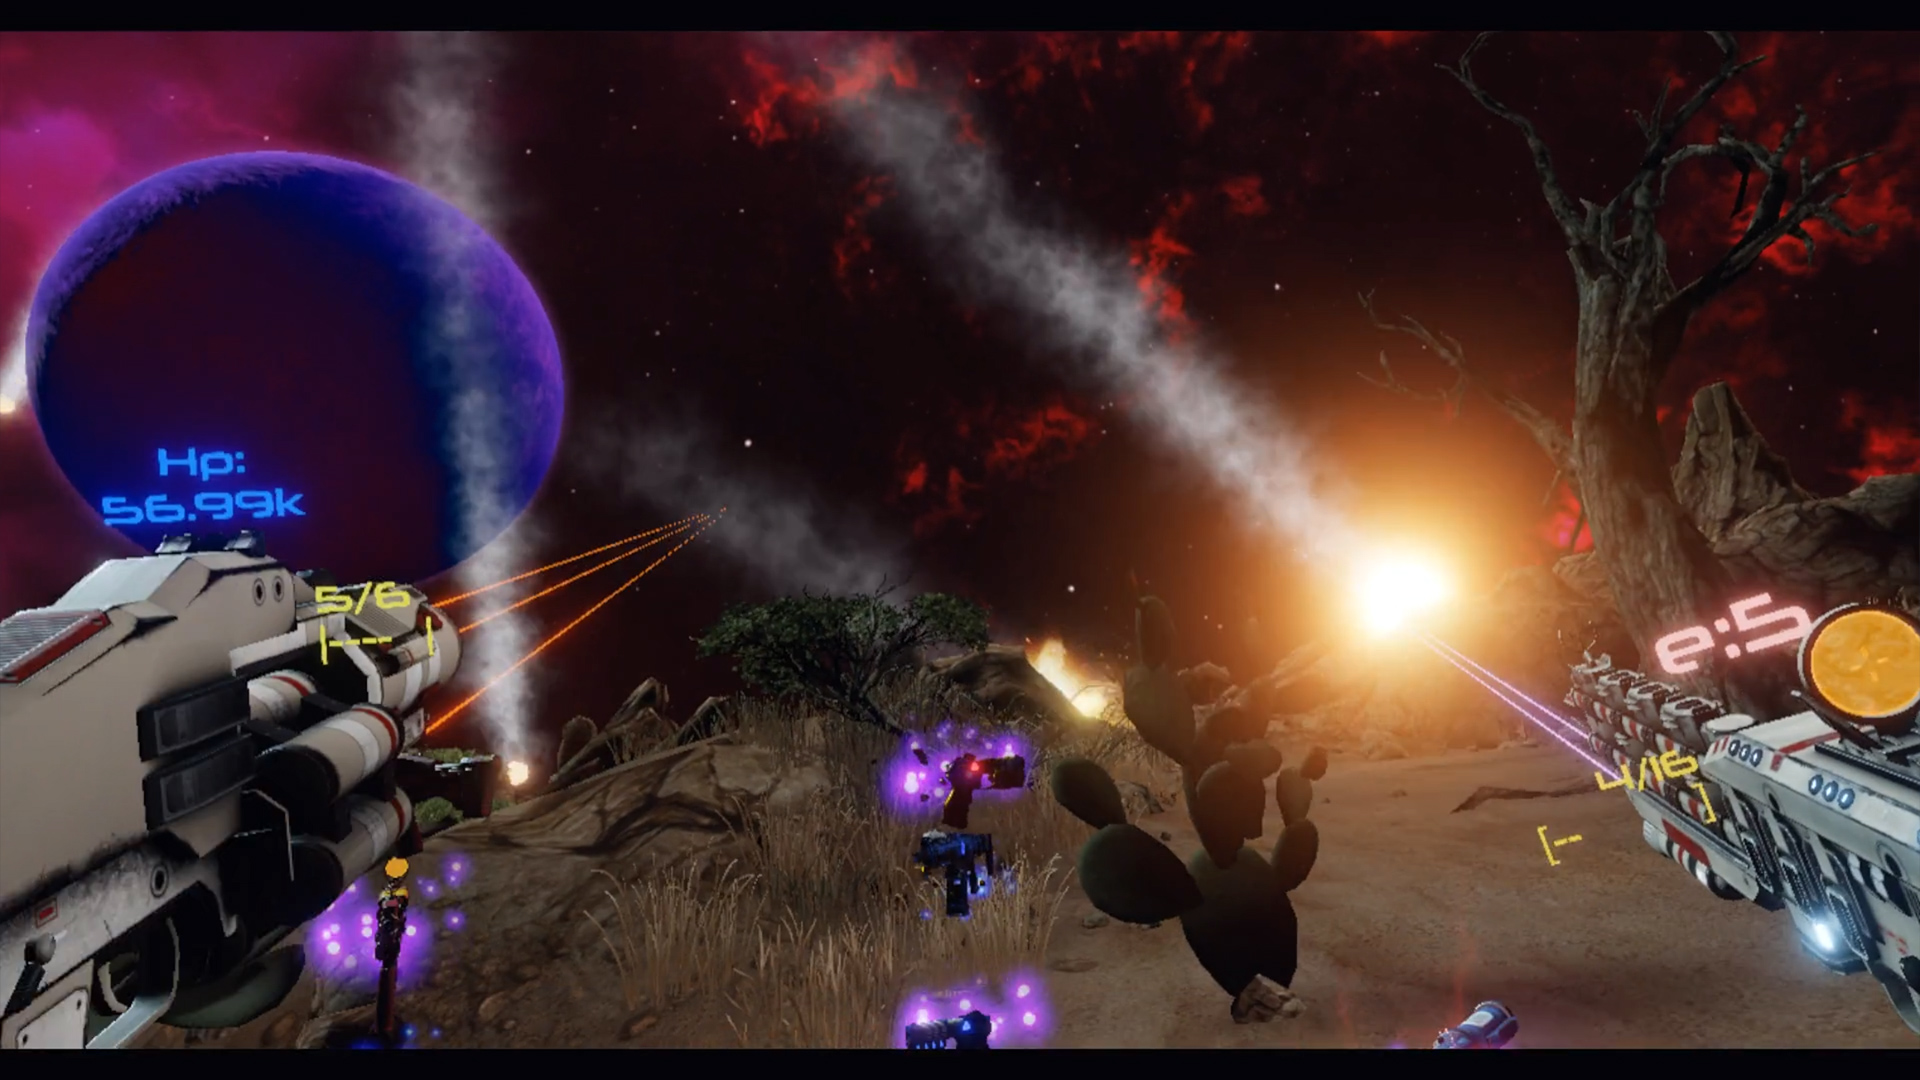
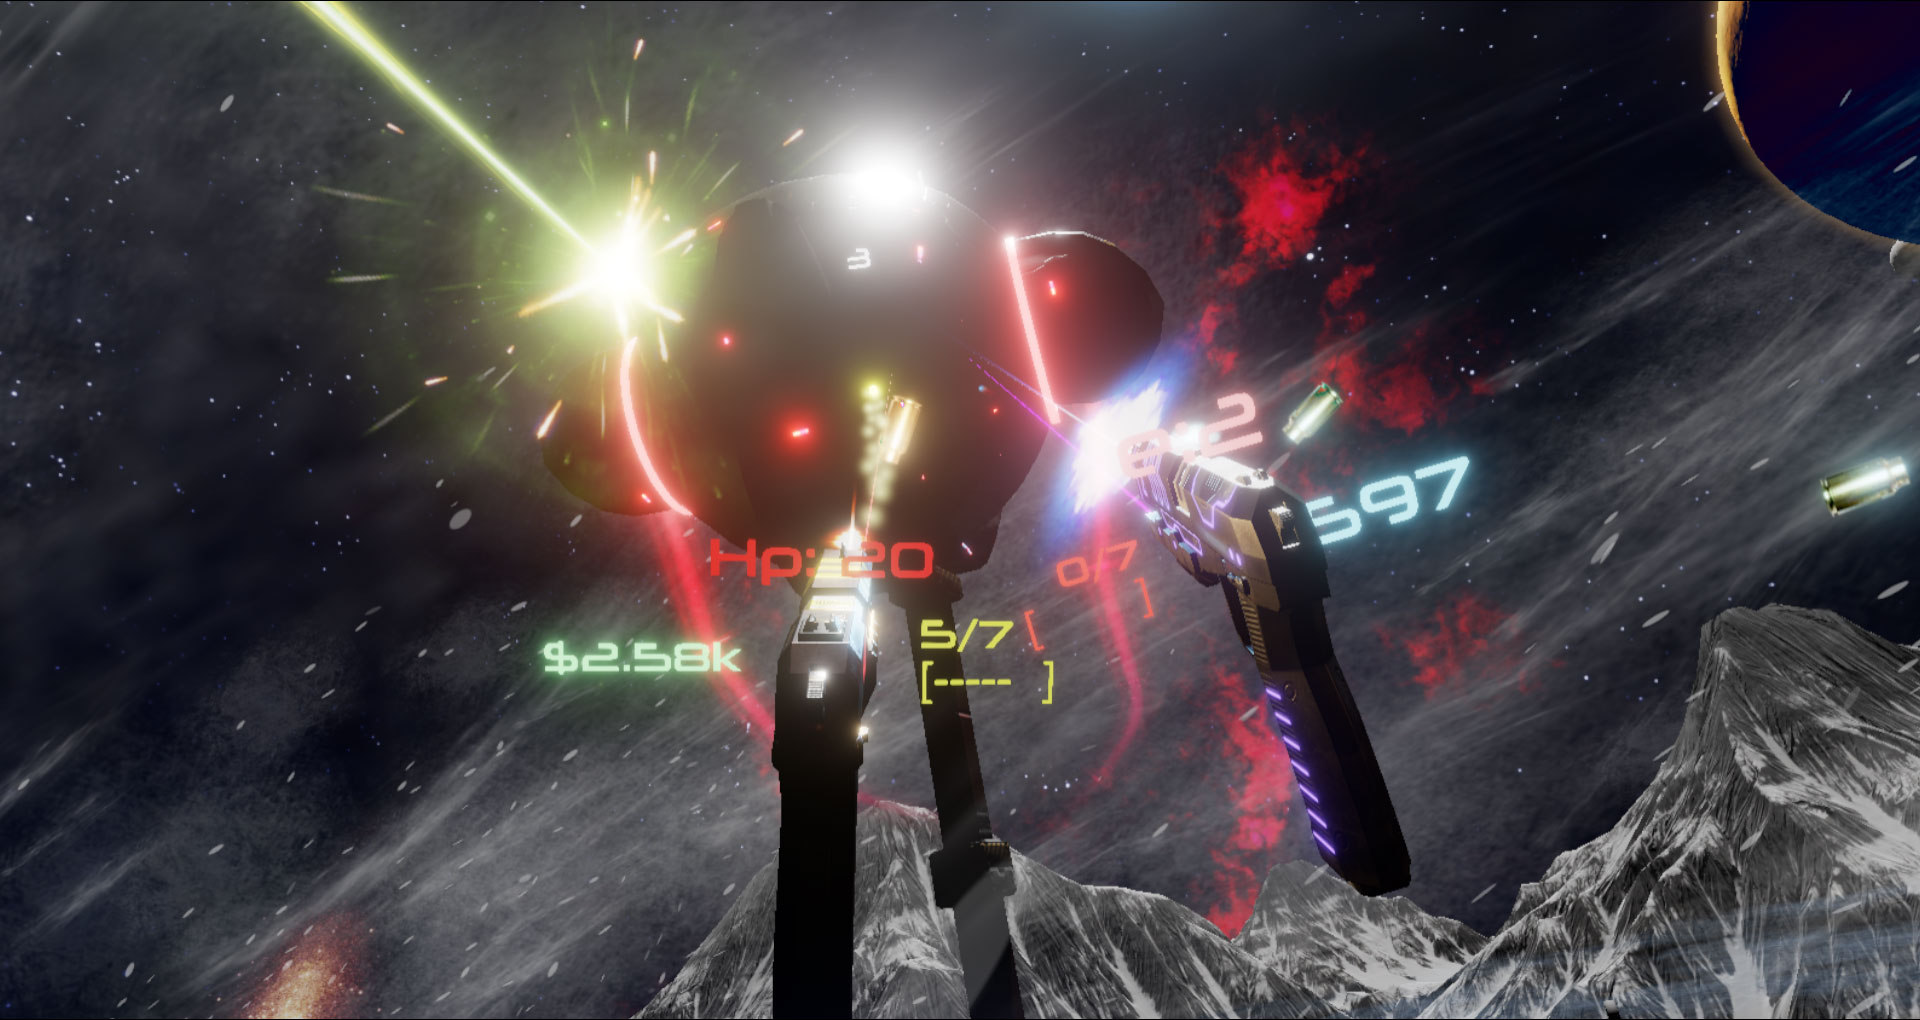
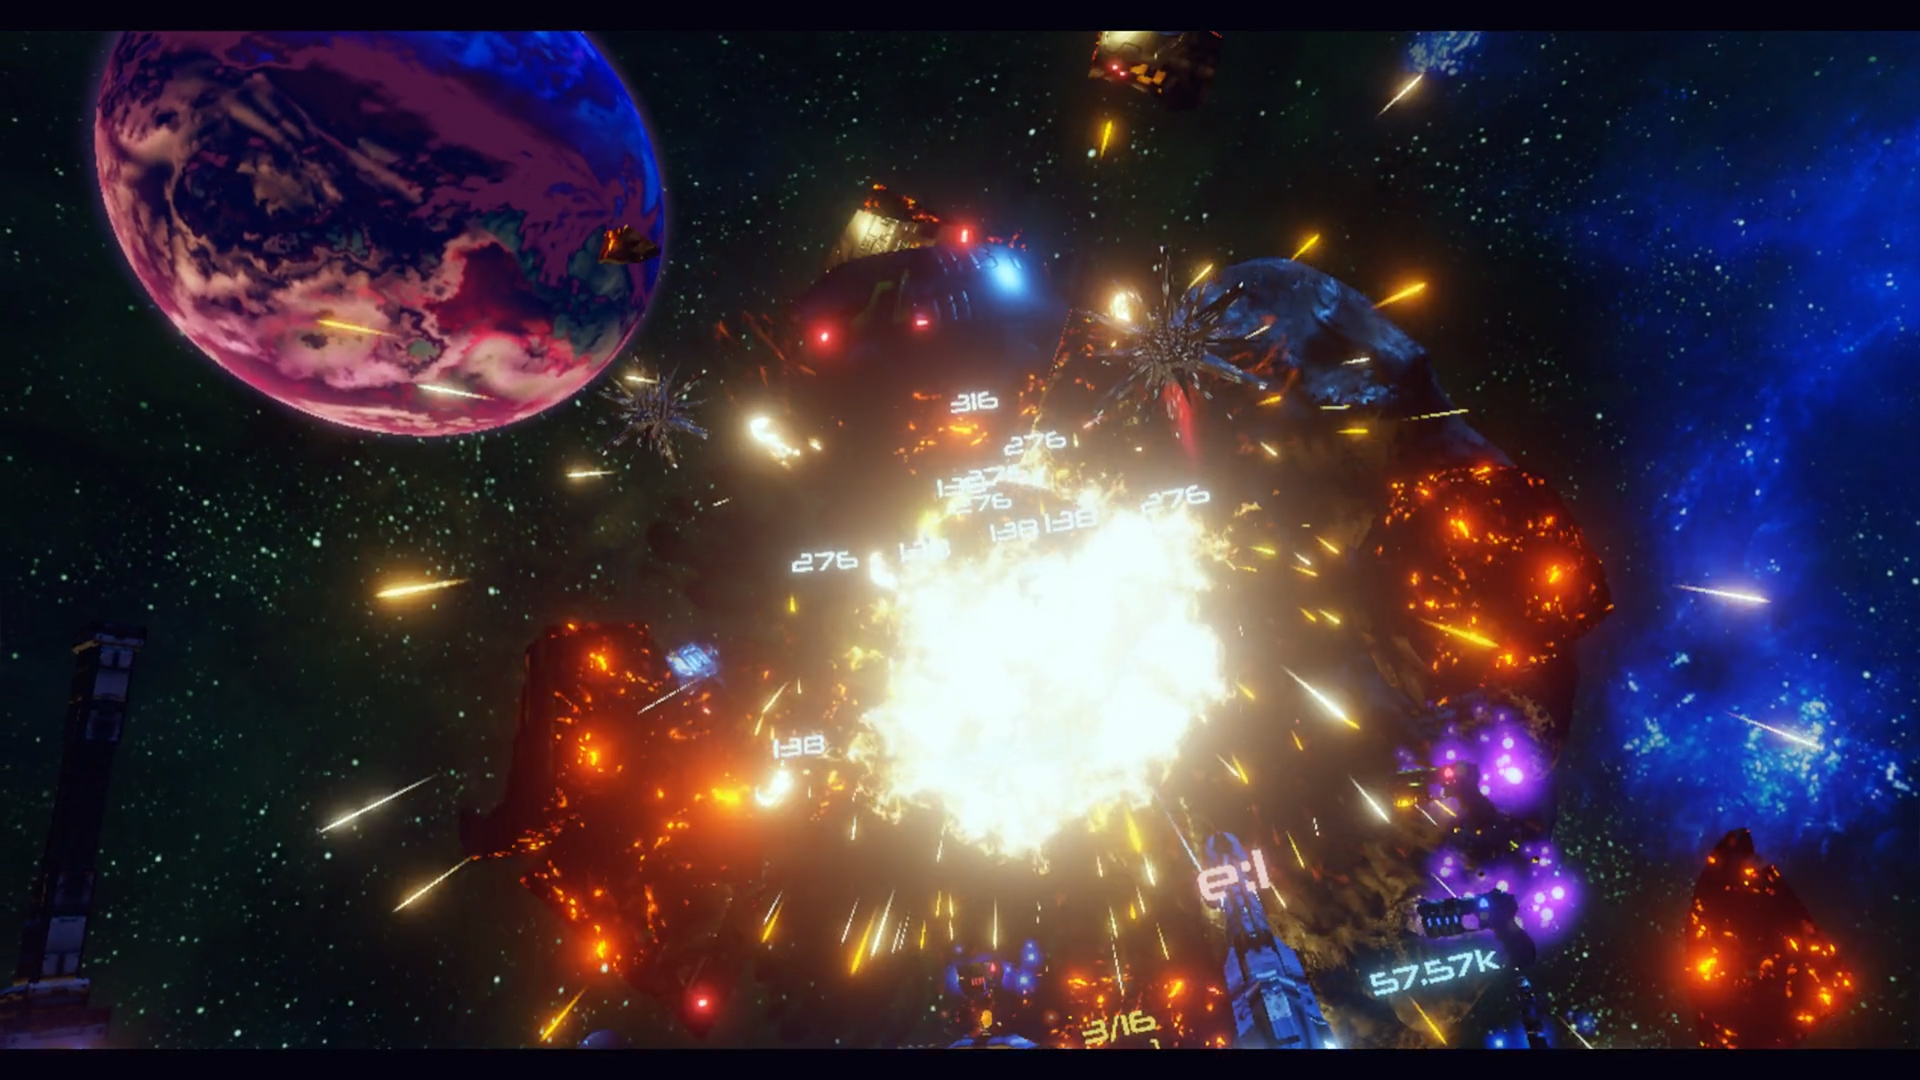
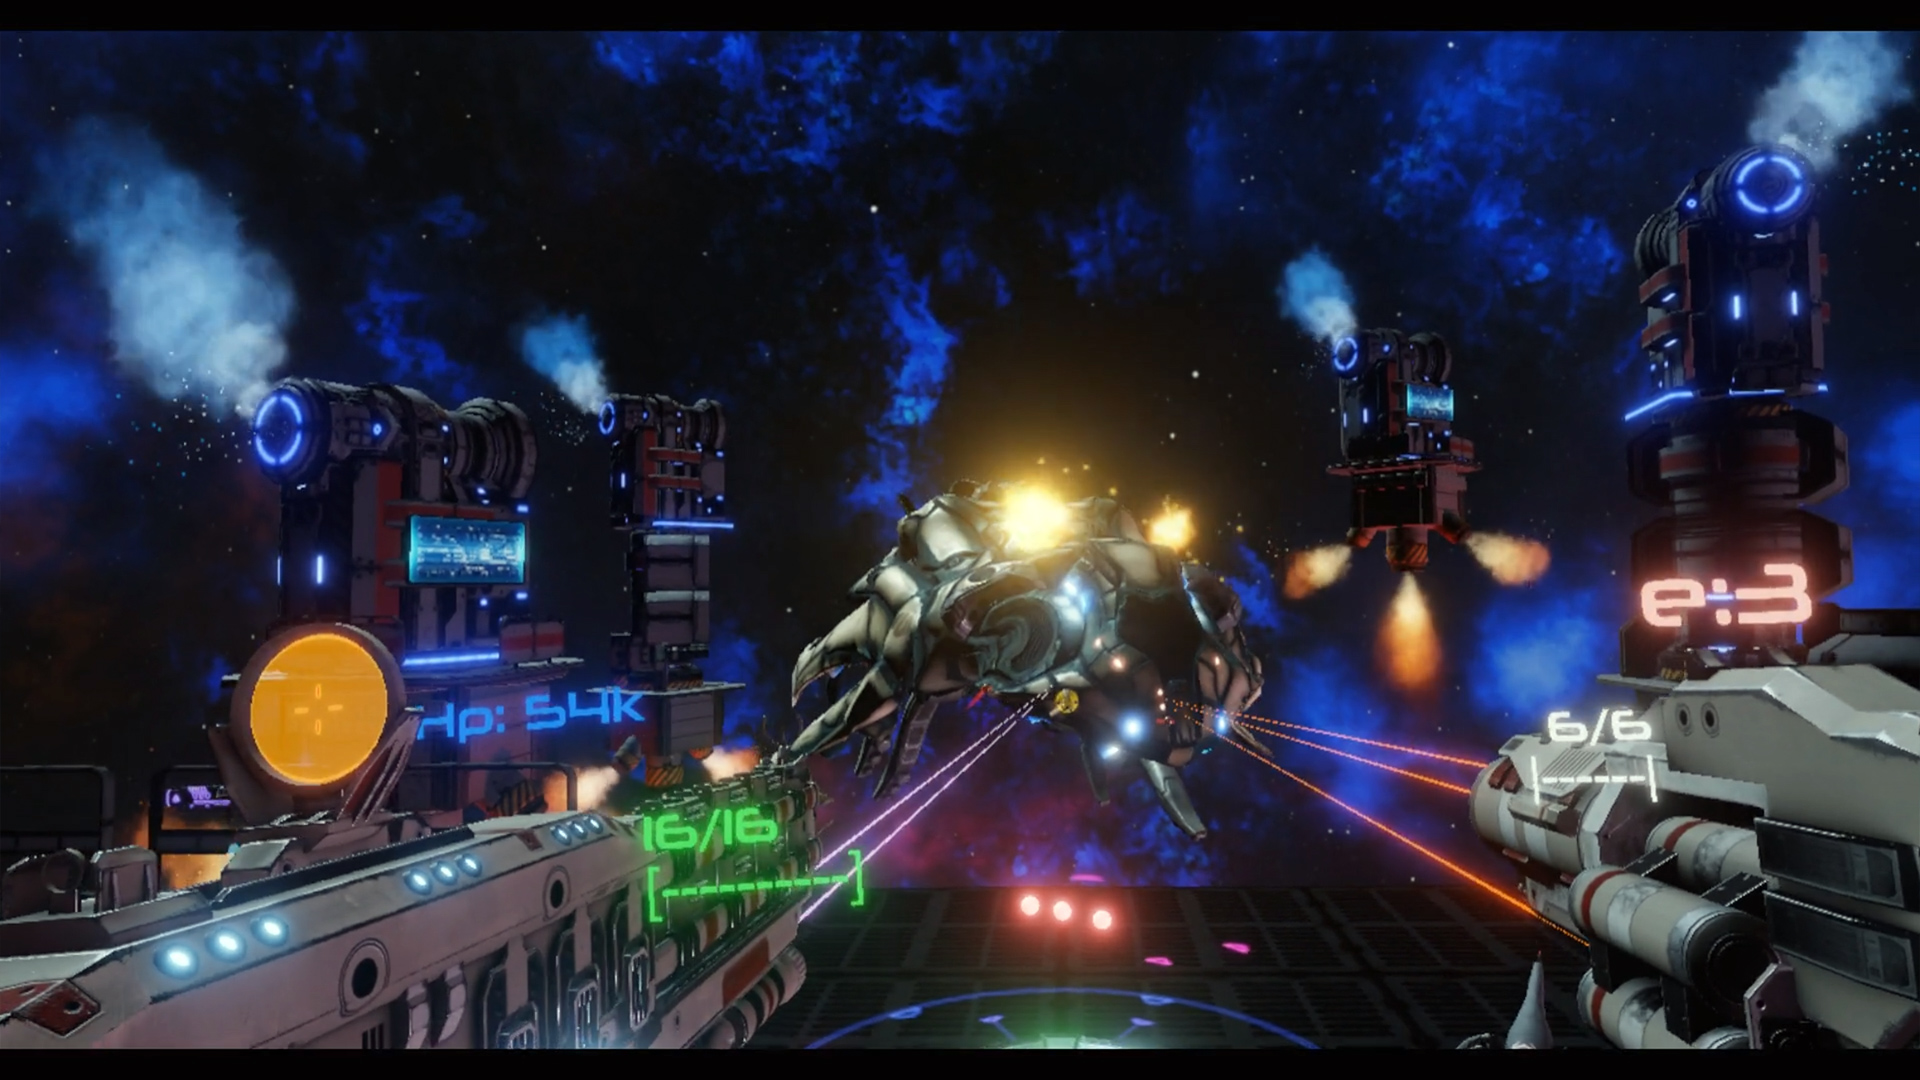
Gameplay screenshots from the Steam release. Select an image for a closer look.
02 / Your arsenal
Start with a pistol. Work your way to something extraordinary. Discover all twelve weapon families, mix your damage types, and upgrade the loadout that feels like yours.
Your first line of defense. Pick off incoming droids with deliberate shots and keep a dependable sidearm close.
Pistol 1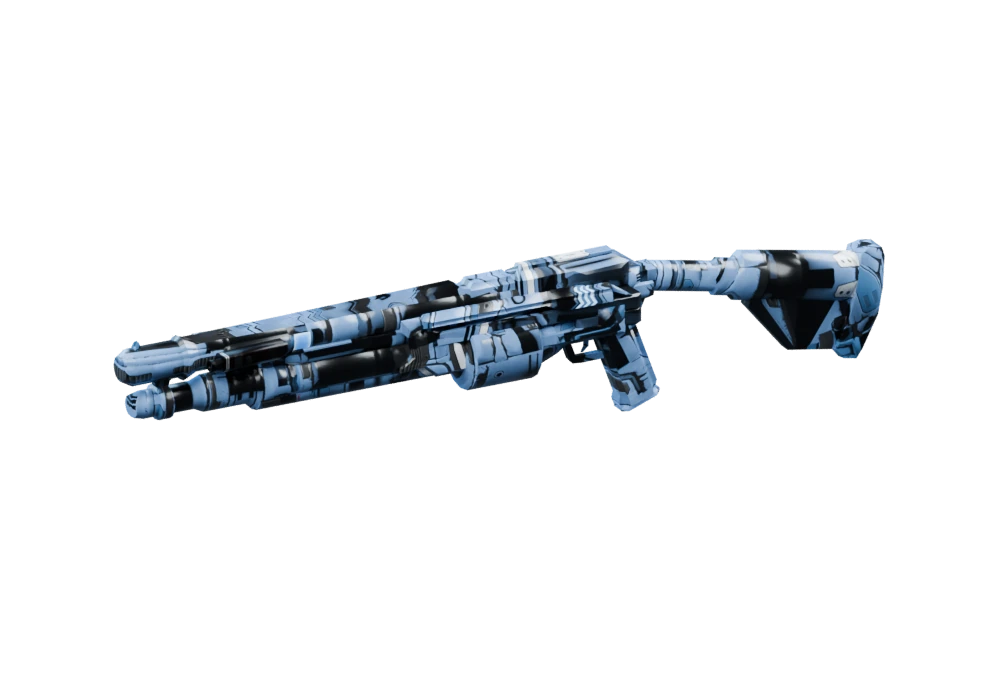
A broad spread for close encounters. Catch clustered enemies in the blast when the swarm gets too comfortable.
Shotgun 6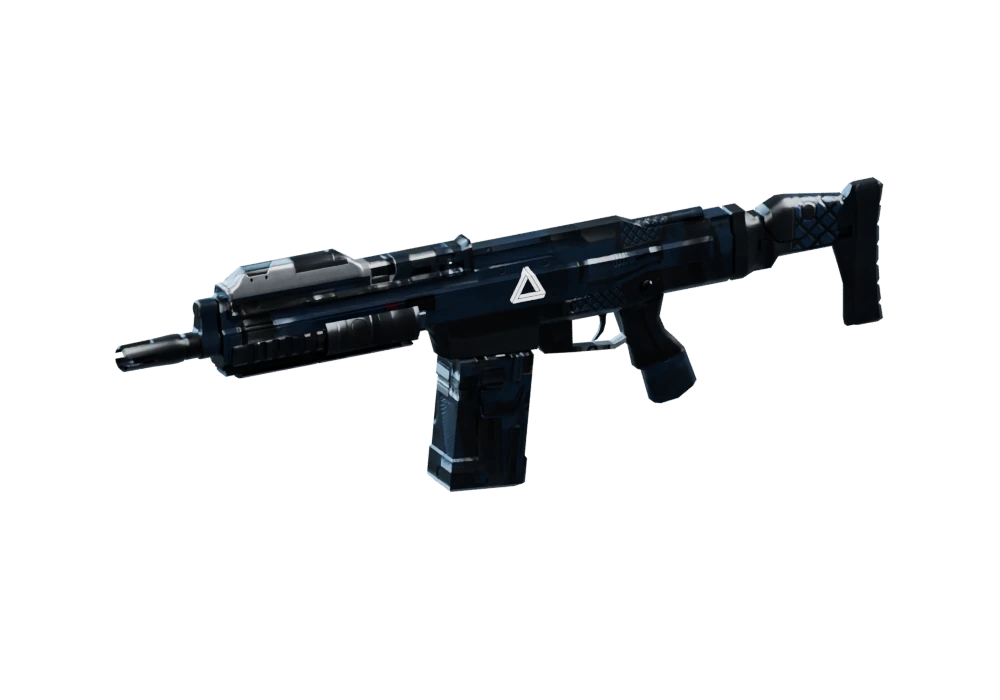
Keep a stream of rounds on fast-moving targets. A quick-firing choice for players who like to keep both hands busy.
SMG 5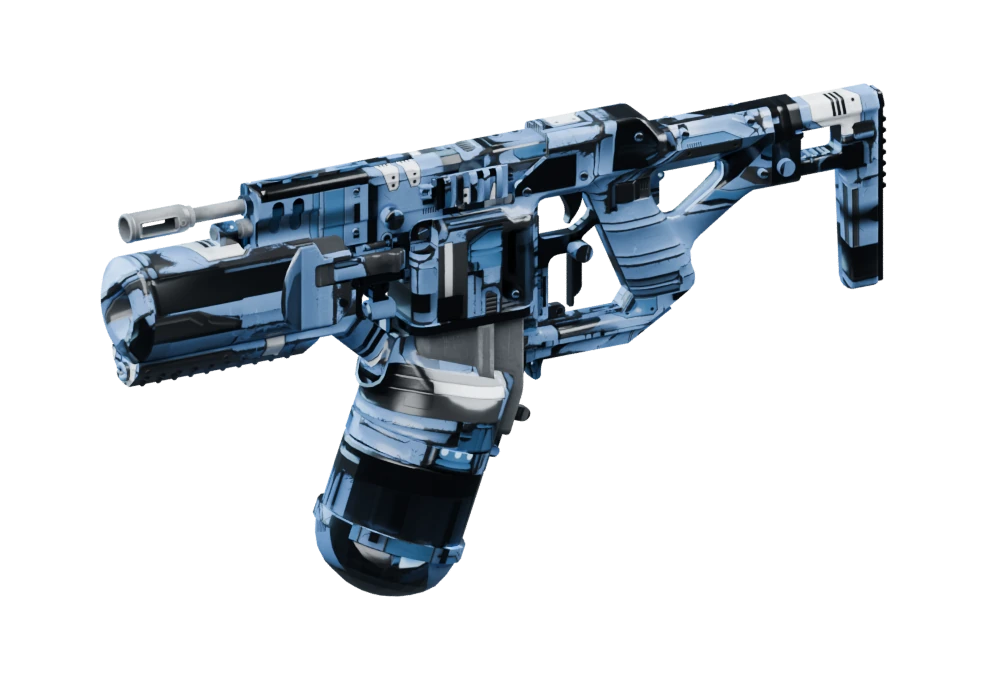
Sweep approaching enemies with flame. Bring heat to the fight when ordinary rounds struggle against their defenses.
Flamethrower 4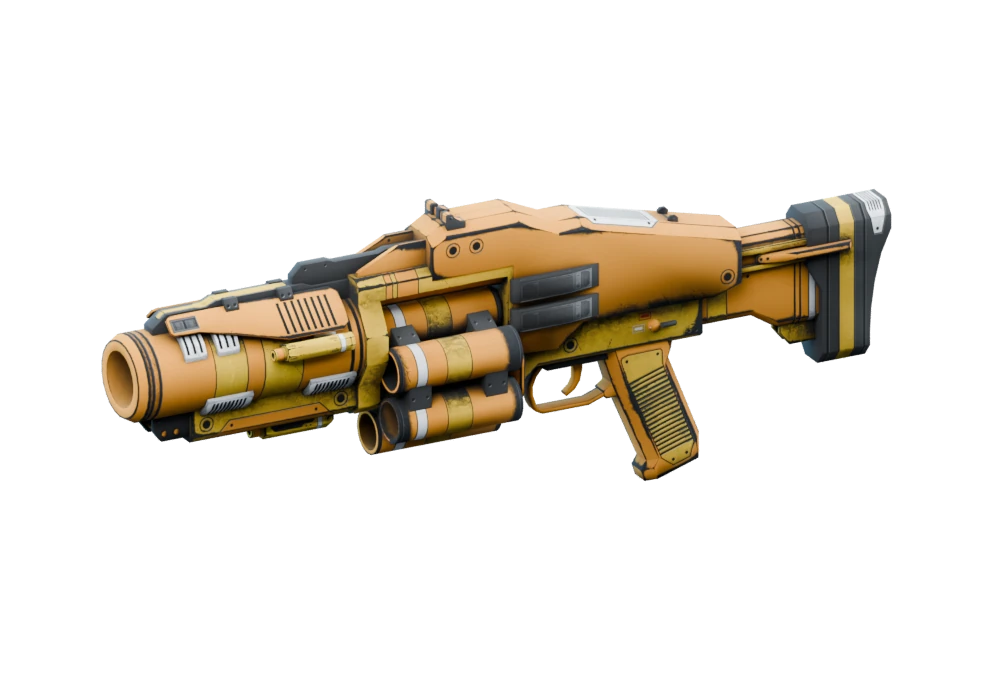
Send a heavier projectile into the fight. Lead moving targets, choose your opening, and make each launch count.
Rocket 5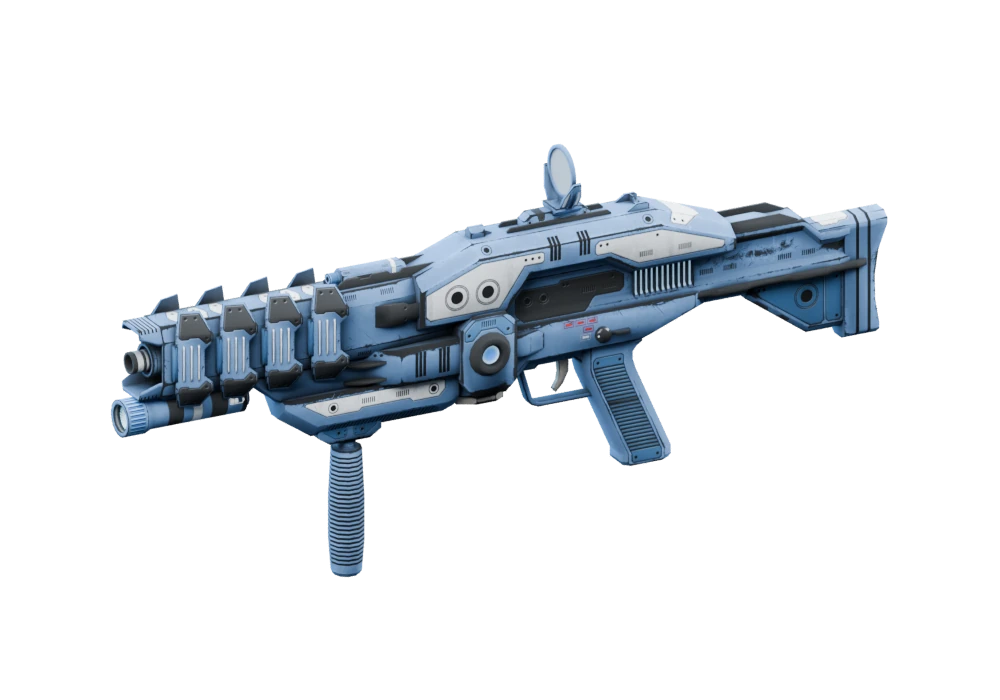
Fast energy fire in a full-size rifle. Keep your sights on the threat and bring a different damage type to your loadout.
Laser 3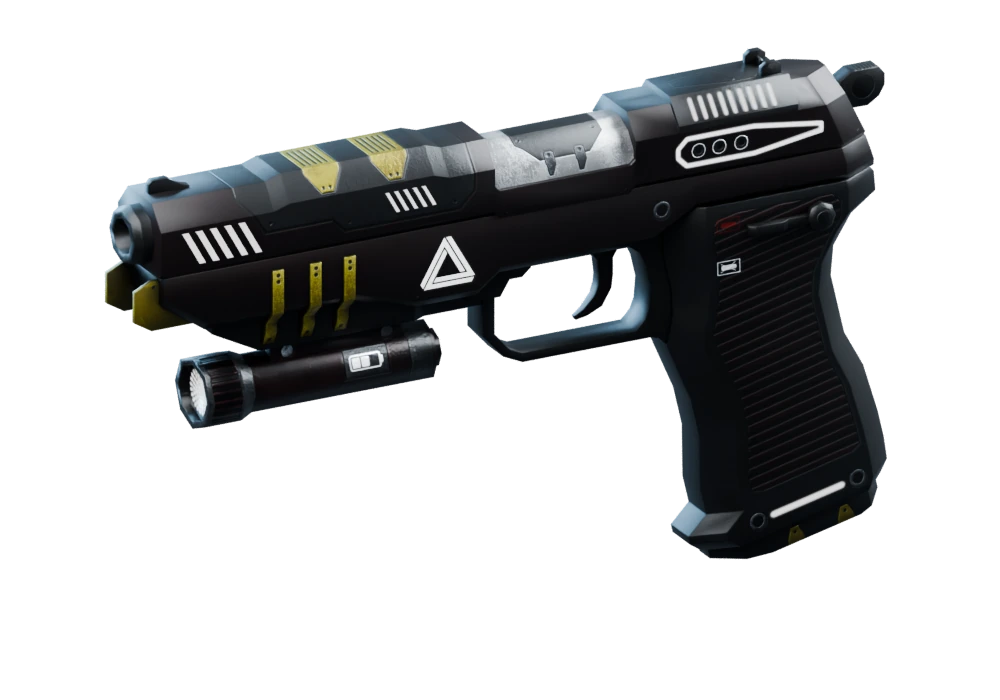
A familiar grip with a louder answer. Exploding rounds give the everyday pistol a more destructive personality.
Boom pistol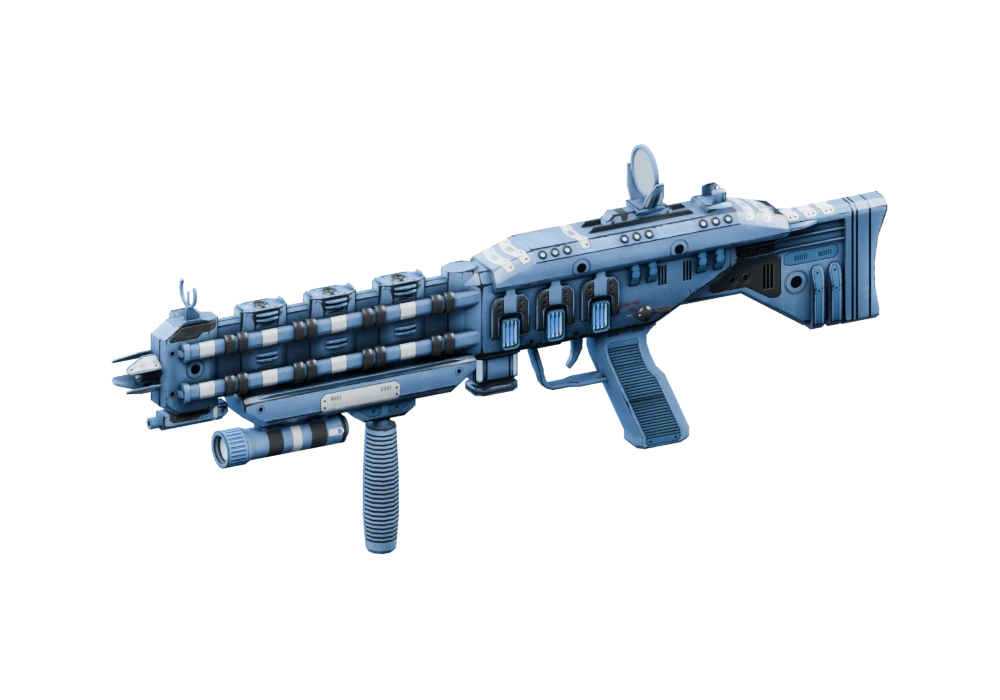
Line up your targets and put piercing shots to work. A specialist option for a carefully chosen angle of attack.
Ray 3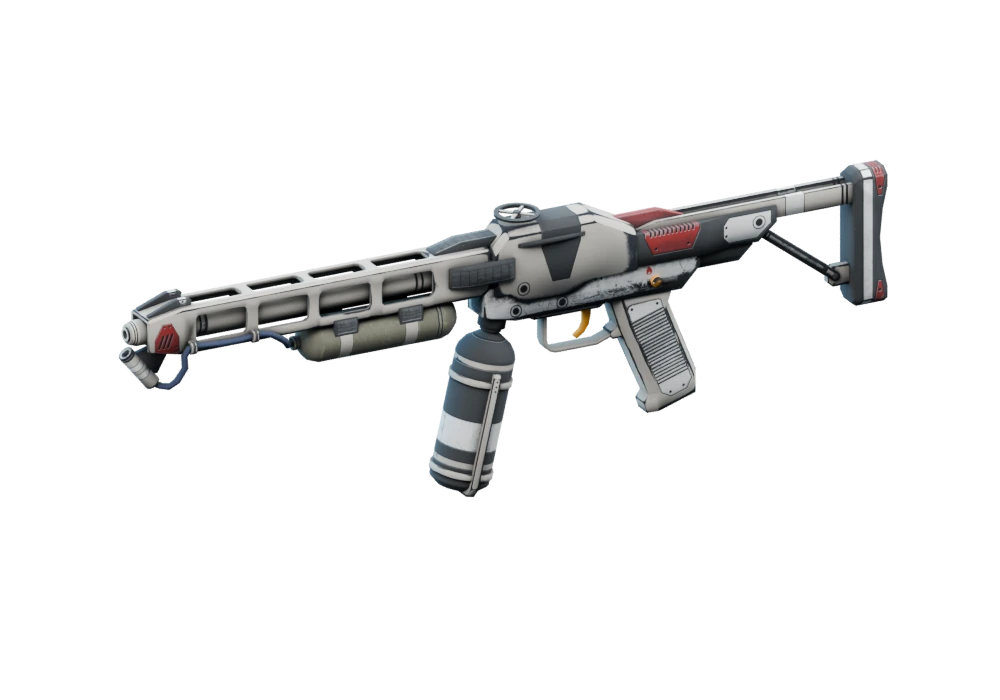
Another way to turn up the heat. Pair this flame weapon with a kinetic or energy option to cover more enemy defenses.
Blue flame 5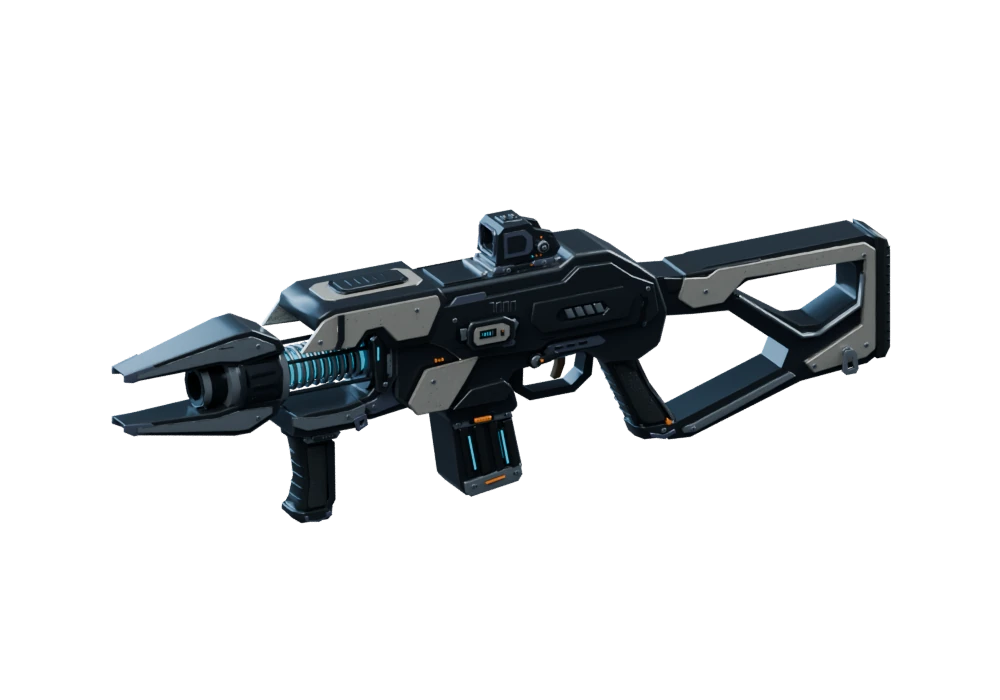
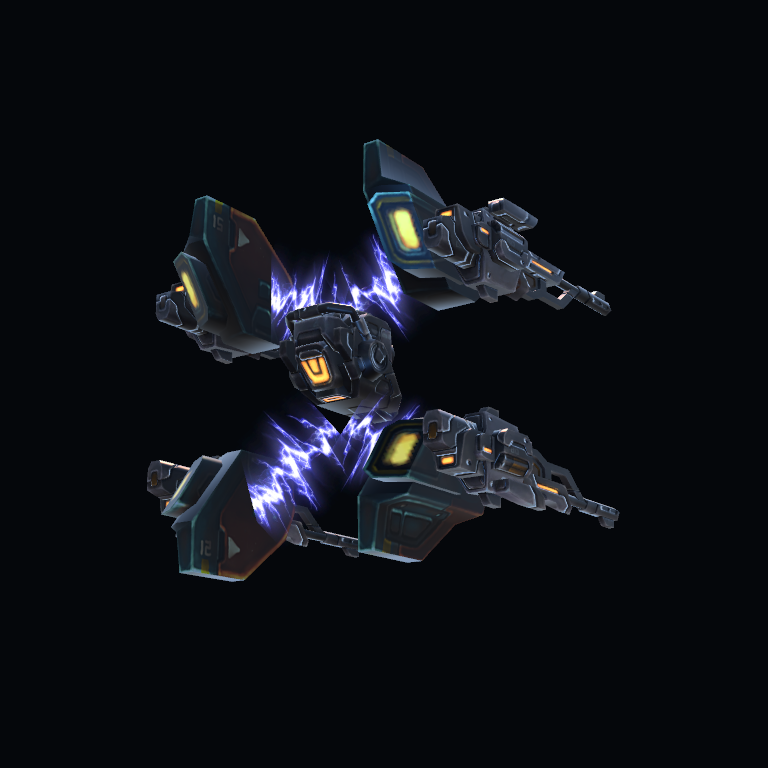
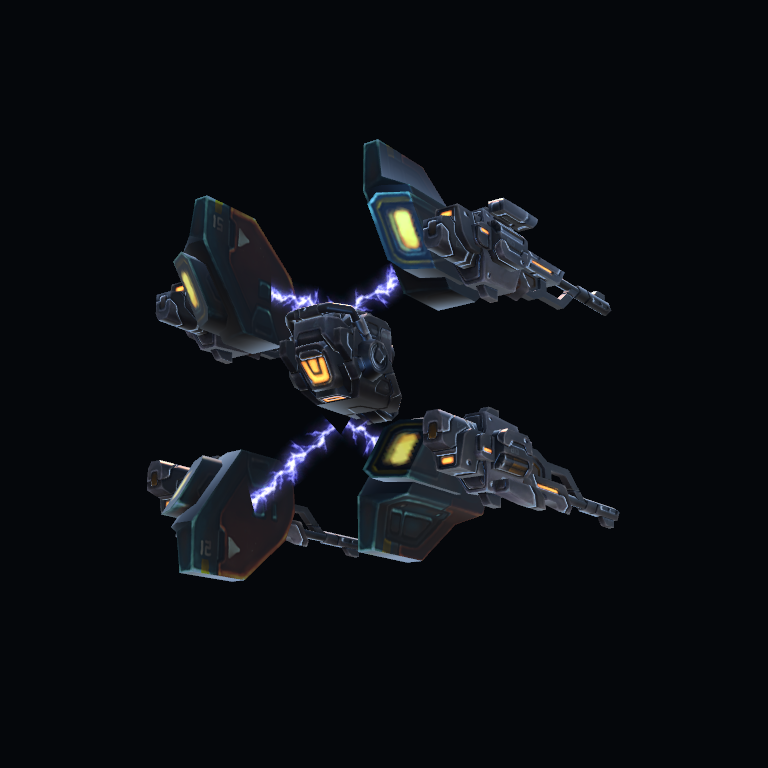
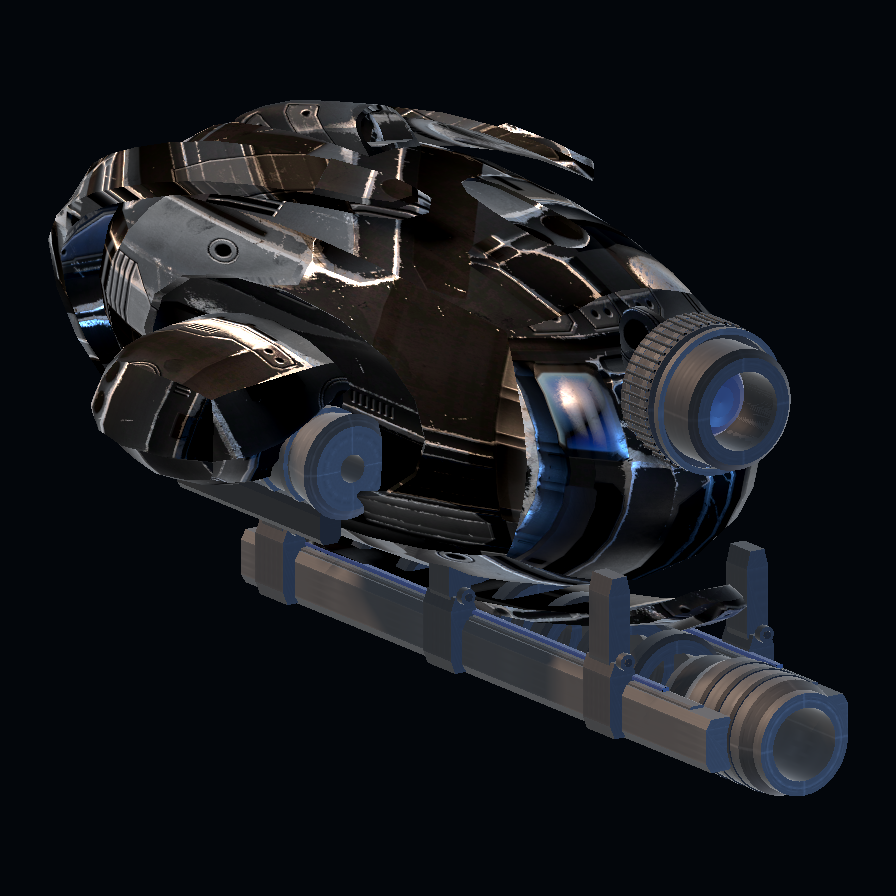
Hold a beam on your target and follow the fight. The Kestrel brings exposed energy coils and a sharp armored silhouette.
Kestrel · Lightning 7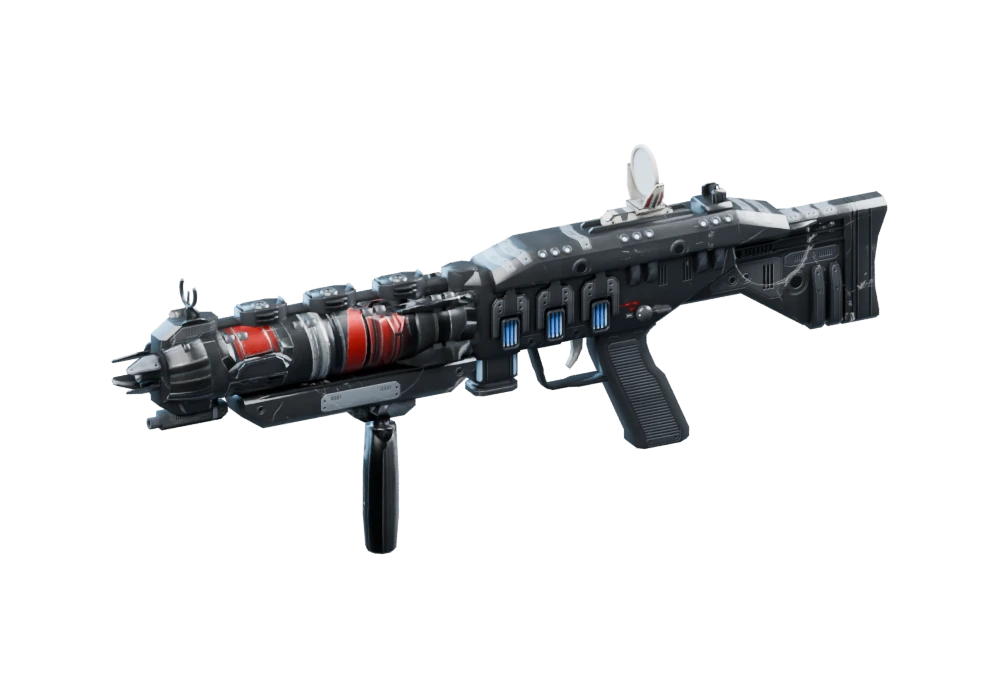
Step into the heavier end of the weapon bench. Build around this late-game family and tune its stats with upgrades.
Vortex 5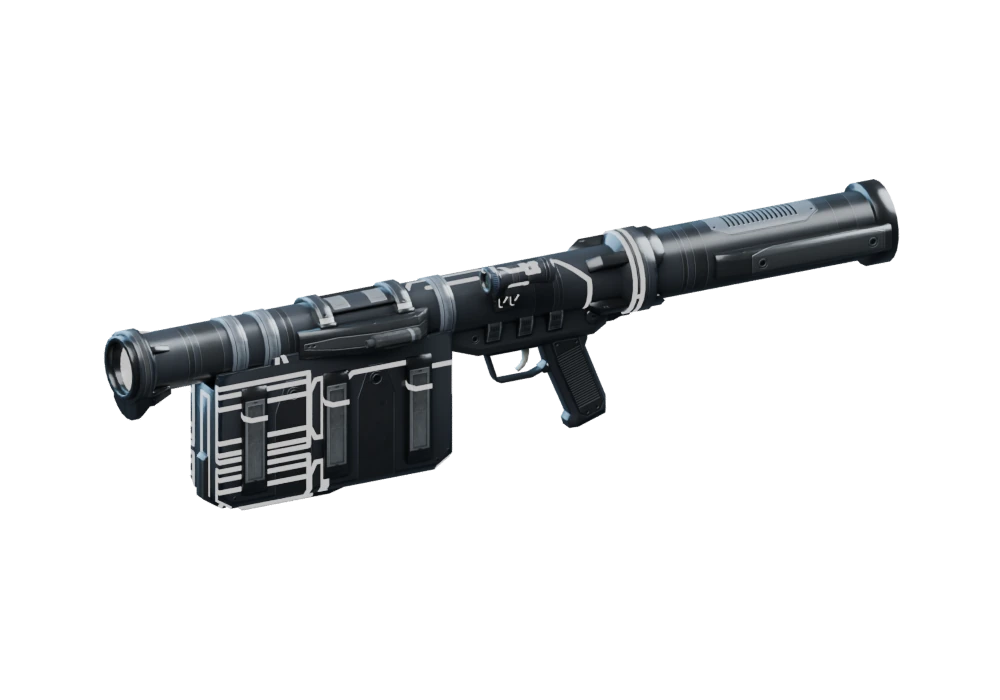
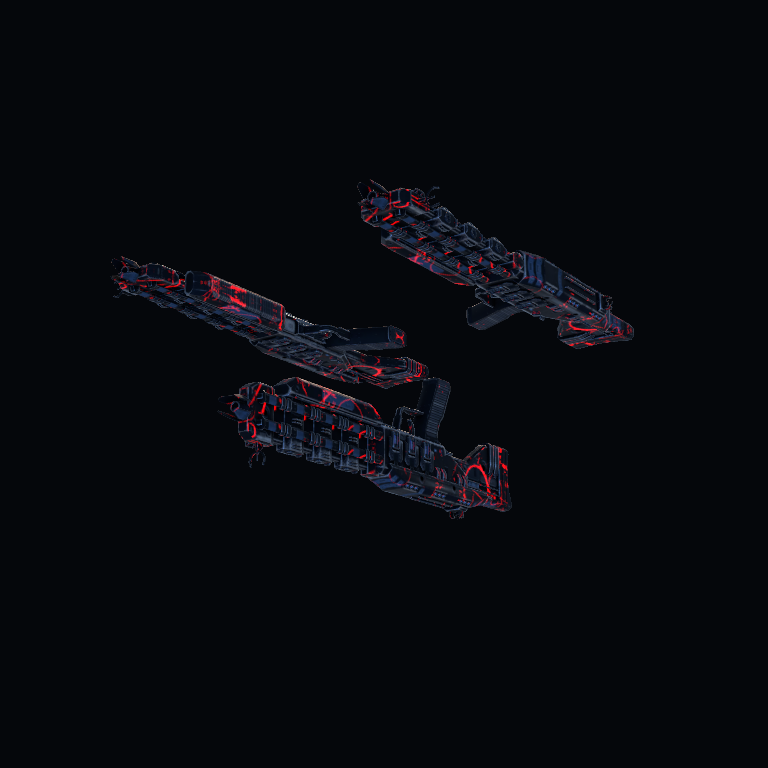
The final weapon family on your progression path. A substantial launcher for a loadout built to face the deepest missions.
Doom 7One variant from each family. Find different rarities, compare stats, and make each upgrade your own.
03 / Enemy intelligence
Every silhouette tells a story. Learn the machines, read their defenses, and decide what falls first.
Explore the roster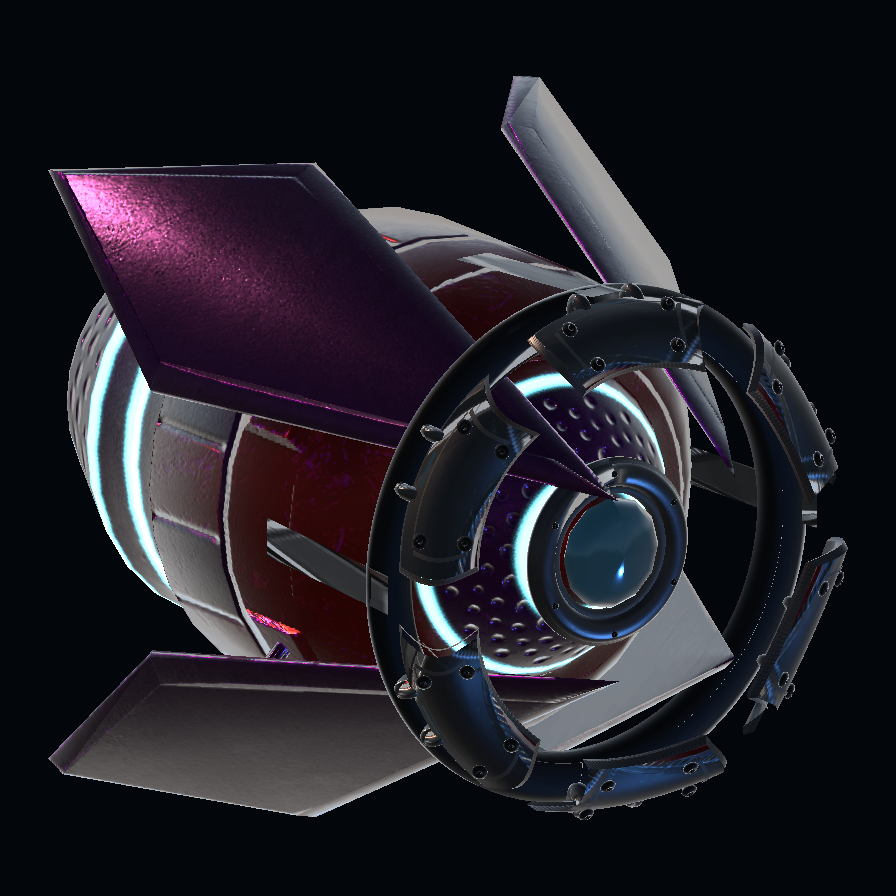
Read the defense. Match your damage type to the armor.
Break the support. Healers and commanders change the fight.
Watch the opening. Shields and attack windups create your moment.
Threat is a relative tactical rating, informed by enemy behavior and wave balance. Health and damage scale with the encounter.
Dimensions show archived reference bounds, width × height × depth, in meters (m). Encounter scale, pose and variants change size. Specialist measurements describe the original chassis and exclude added attachments. Portraits are framed independently.
Specialists enter the procedural Endless roster from waves 340–422. Their dedicated campaign missions are deferred beyond the current 20-mission release. The Ghost and friendly menu droid use labeled identification schematics.
34 contacts in the field guide
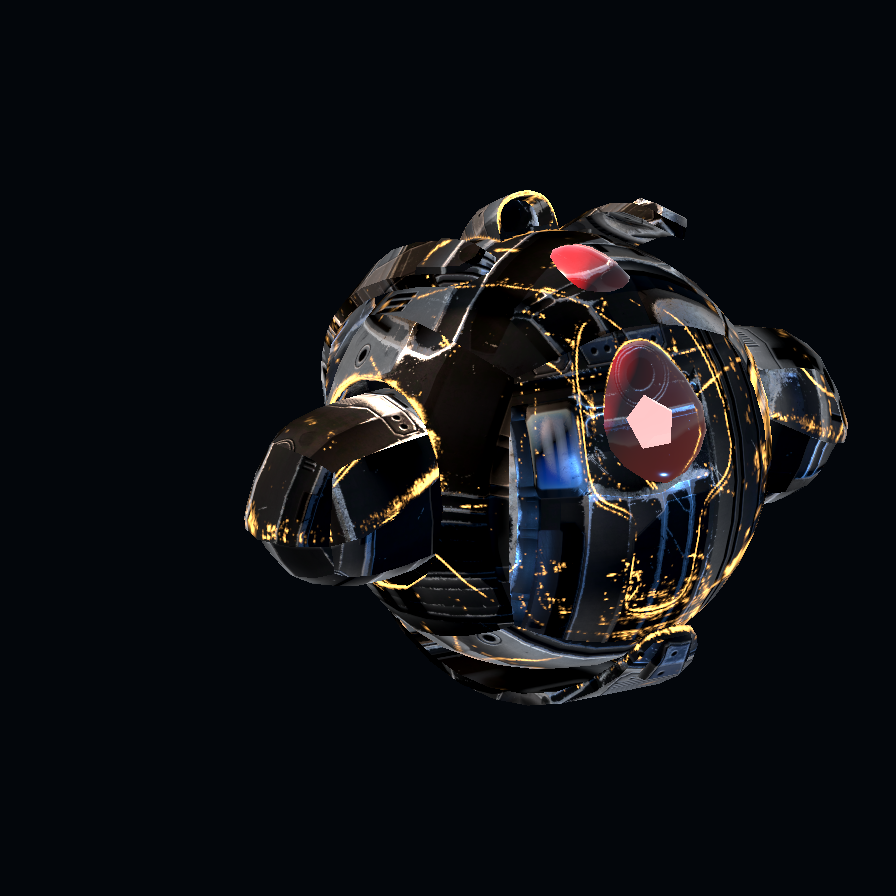
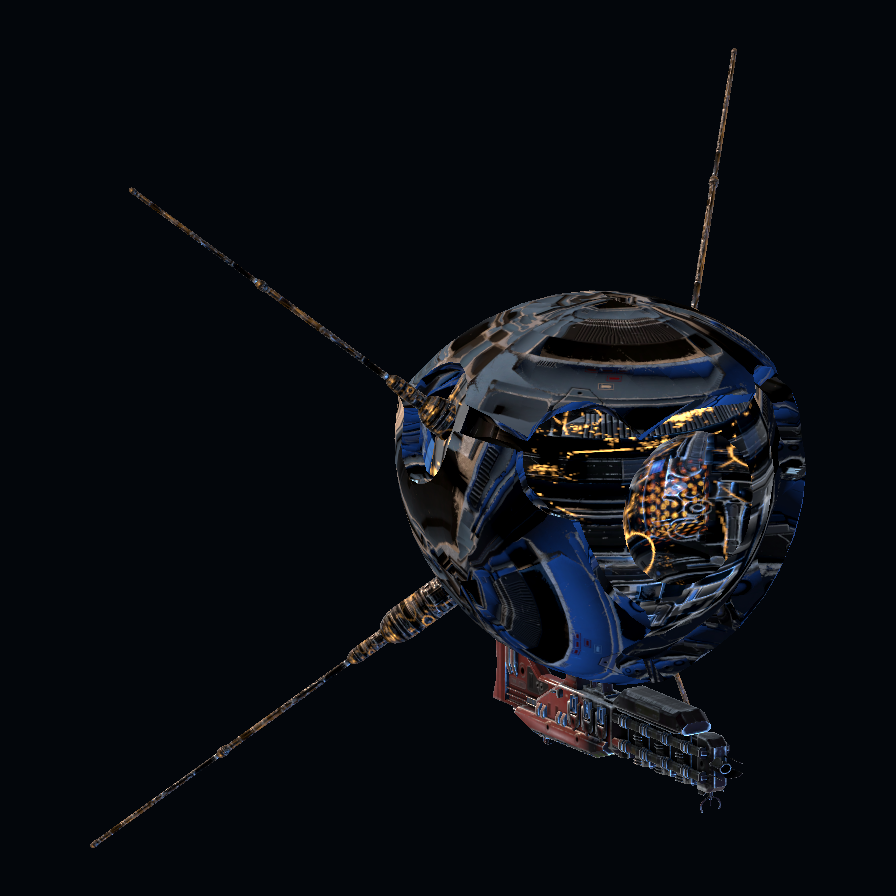
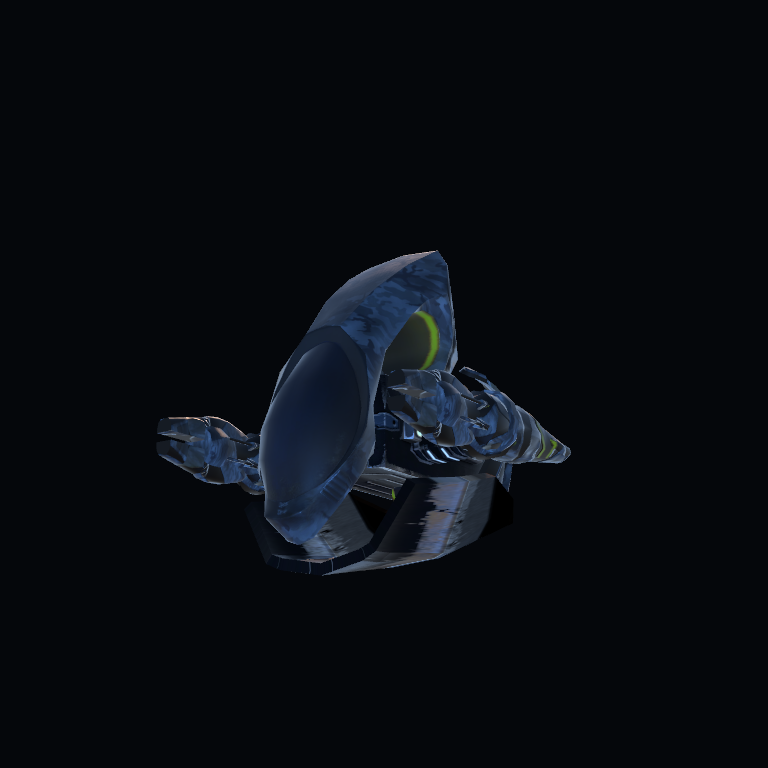
SELECT A PORTRAIT TO INSPECTA compact flying gunner that alternates movement with short bursts.
Track its movement, then use the pause before a burst to land deliberate shots.
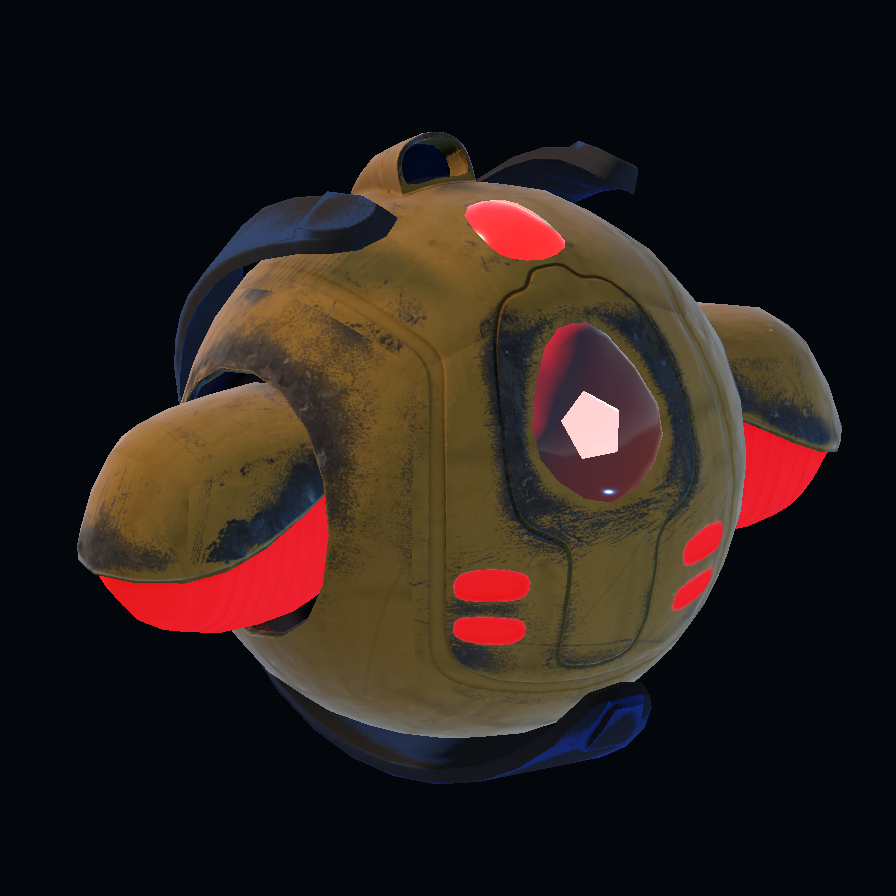
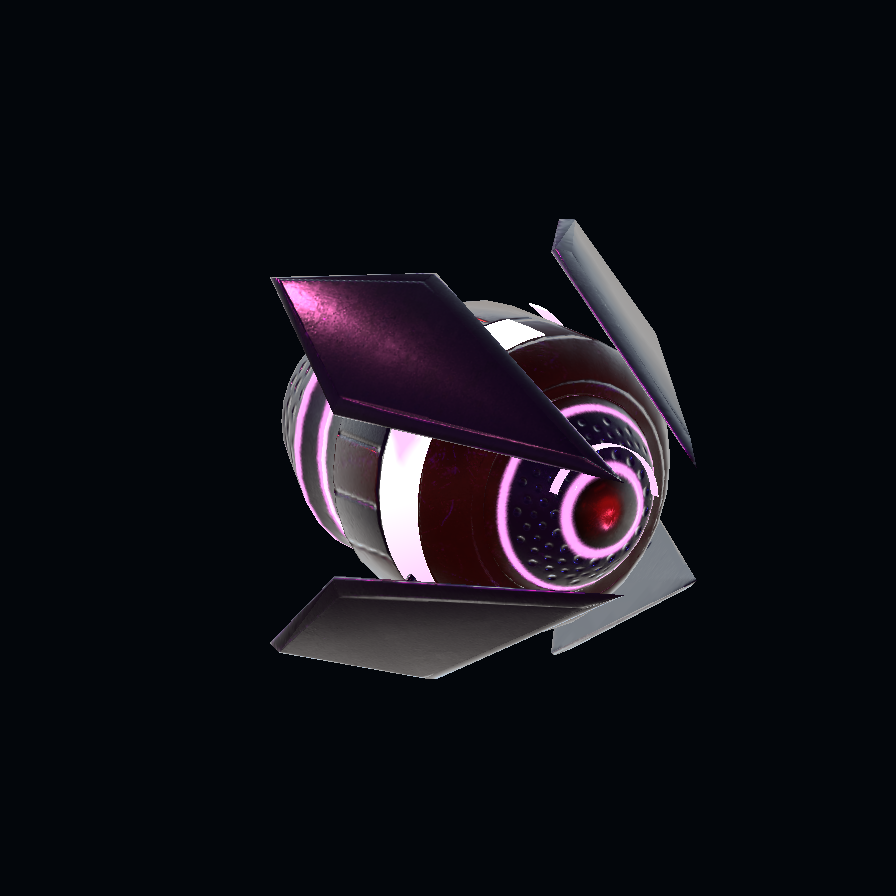
A small flying attacker whose campaign routes bring it close to the player.
Watch the near approaches and clear it before several attackers crowd your view.
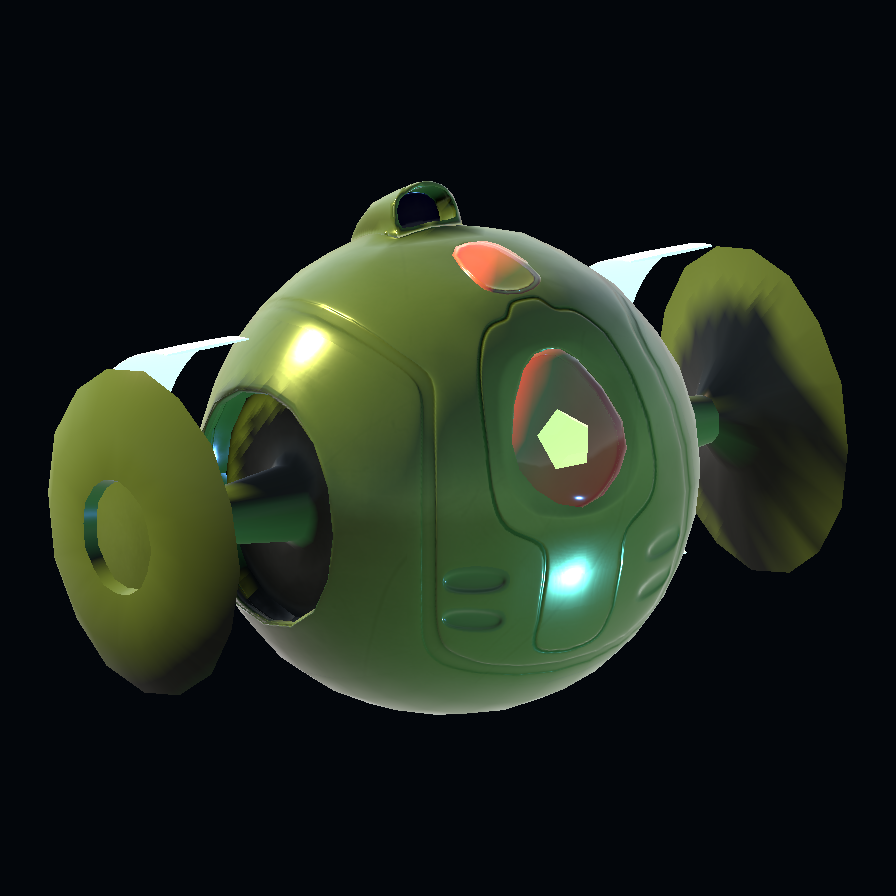
A small shooter that follows a leader during dedicated swarm encounters.
Read the whole formation; do not let its small silhouette distract you from incoming fire.
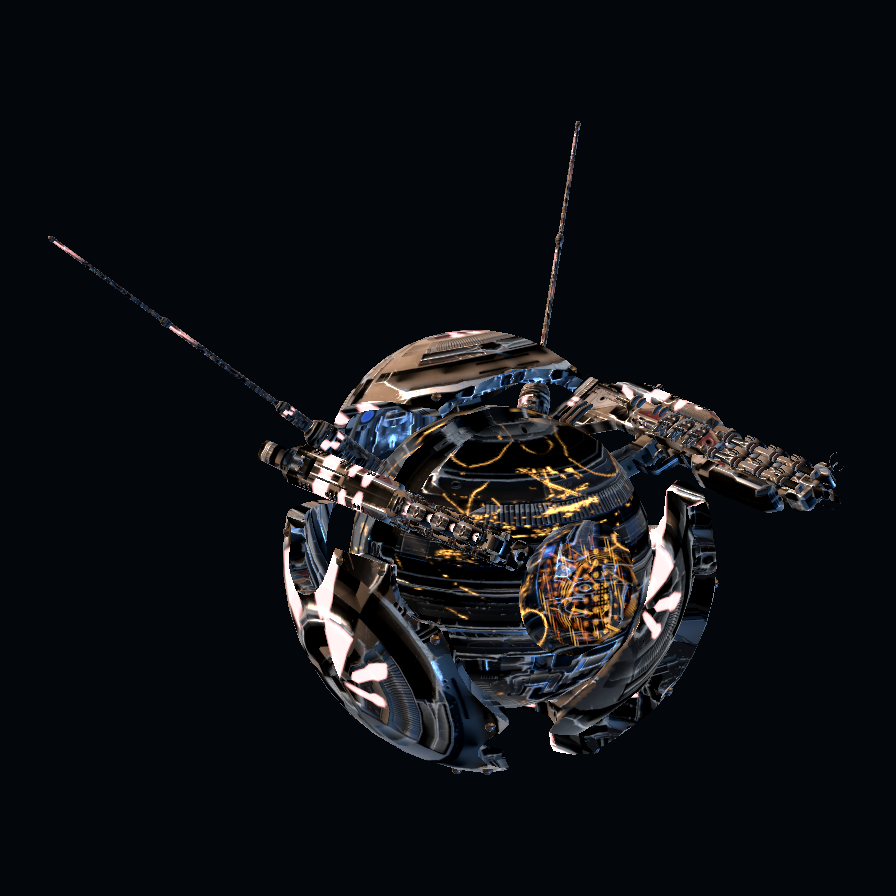
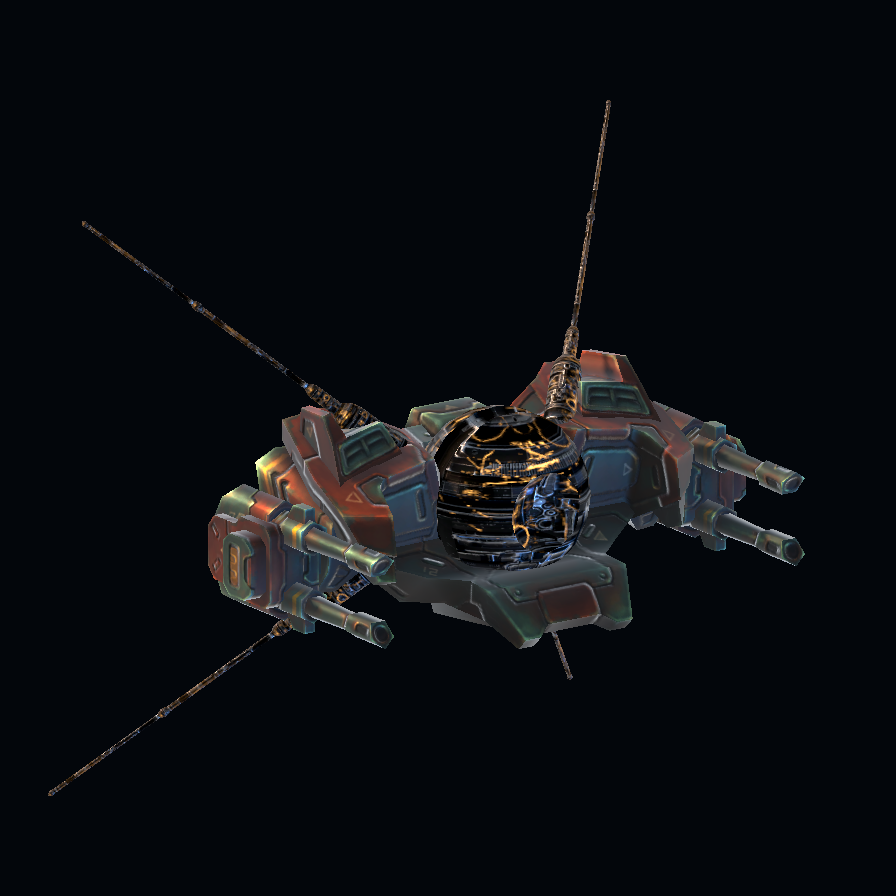
A cannon-bodied flyer that also leads groups of swarm droids.
Follow its pauses to find firing windows while keeping the accompanying swarm in view.
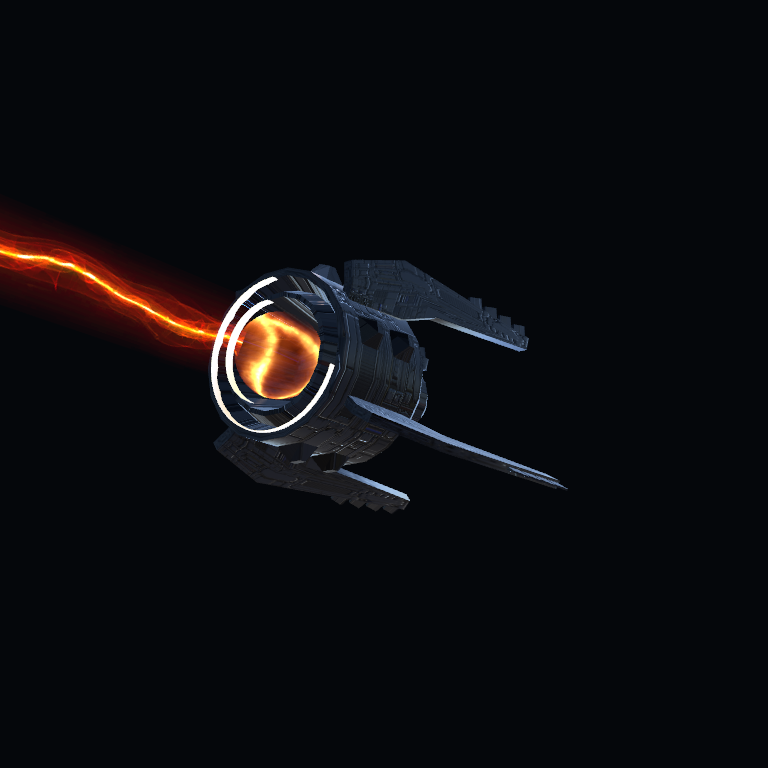
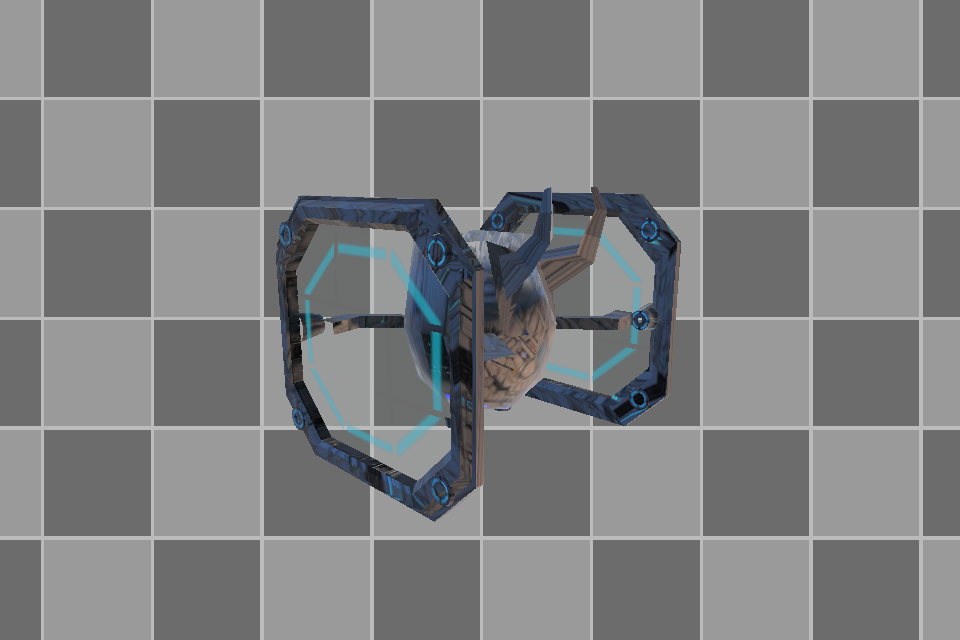
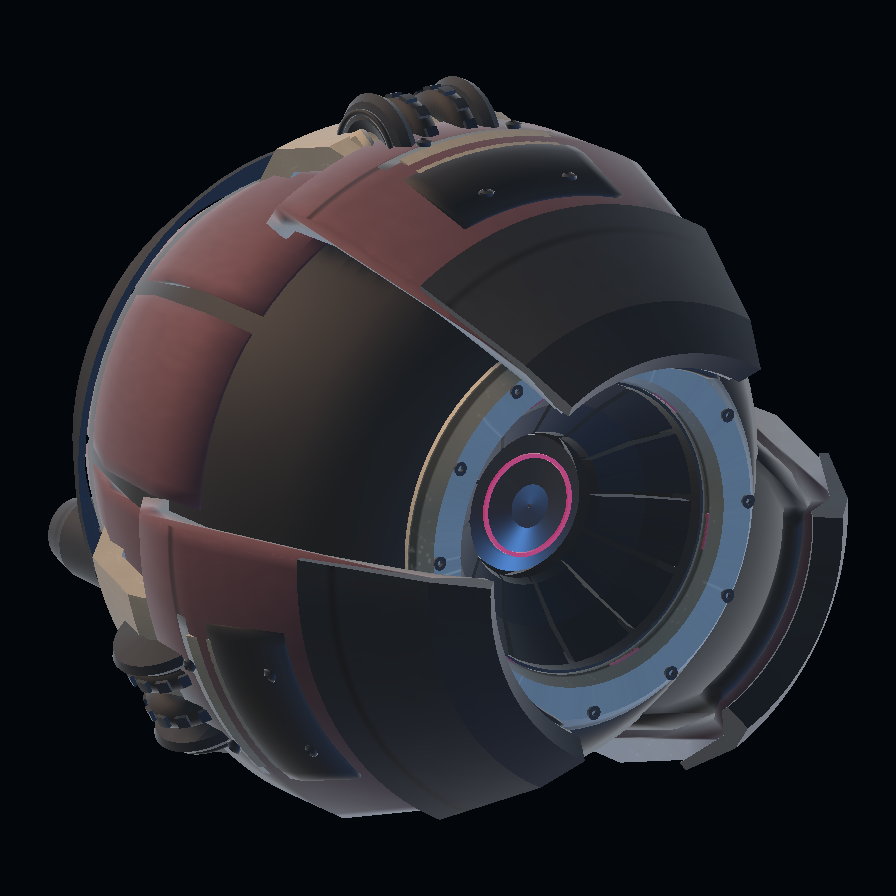
A ring-framed flying shooter used in regular combat and early training encounters.
Aim through the busy outline at the body and watch for the start of its next burst.
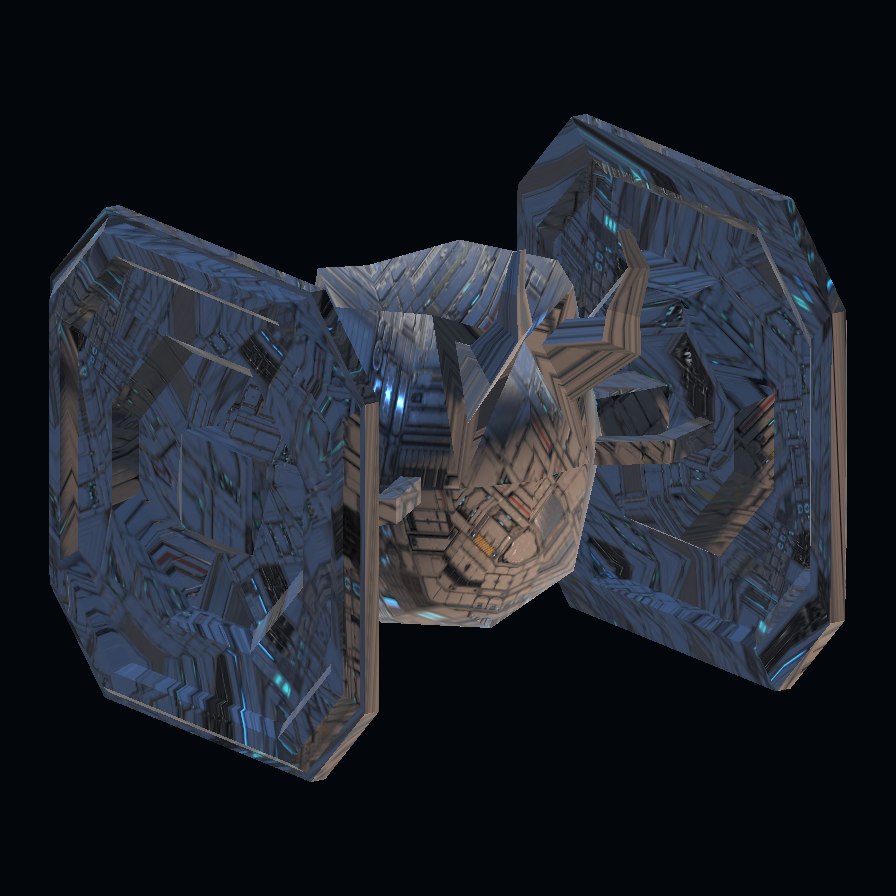
A triangular flying shooter that approaches from changing angles.
Check your flanks between volleys and lead its movement with slower projectiles.
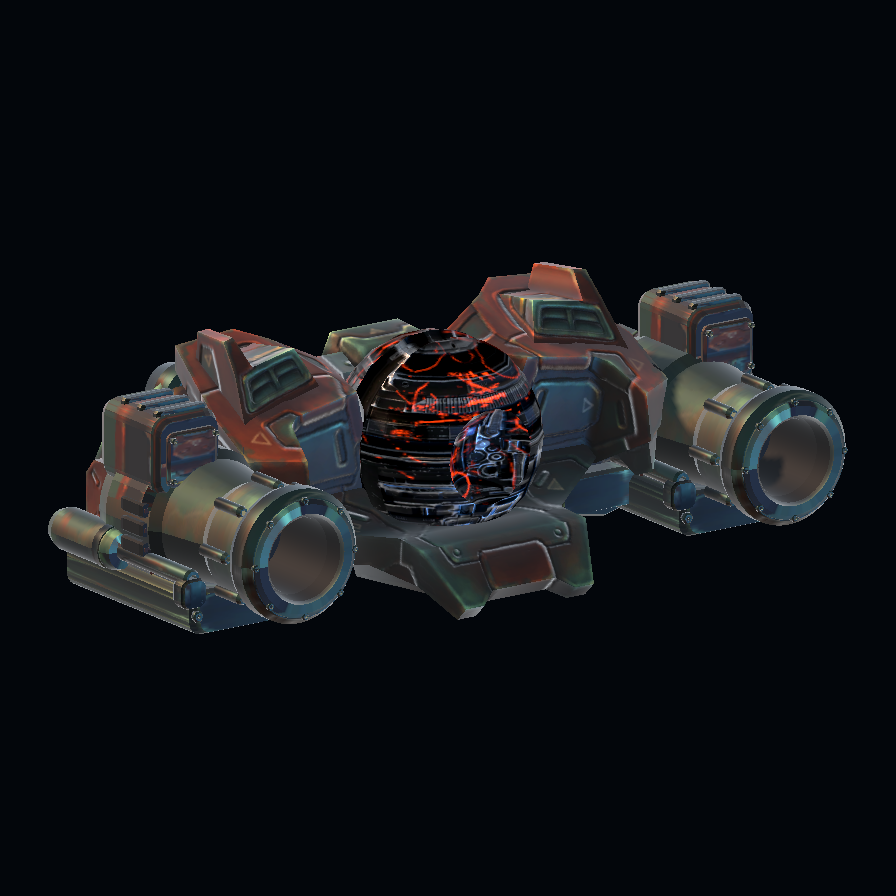
A heavy shooter that fills the approach with rapid, widely spread projectile bursts.
Give the large rounds space and remove this threat before overlapping volleys obscure the fight.
An effects-driven enemy whose ghost-armored campaign variants attack with heat damage.
Bring heat against ghost armor; kinetic and energy weapons deal reduced damage to that defense.
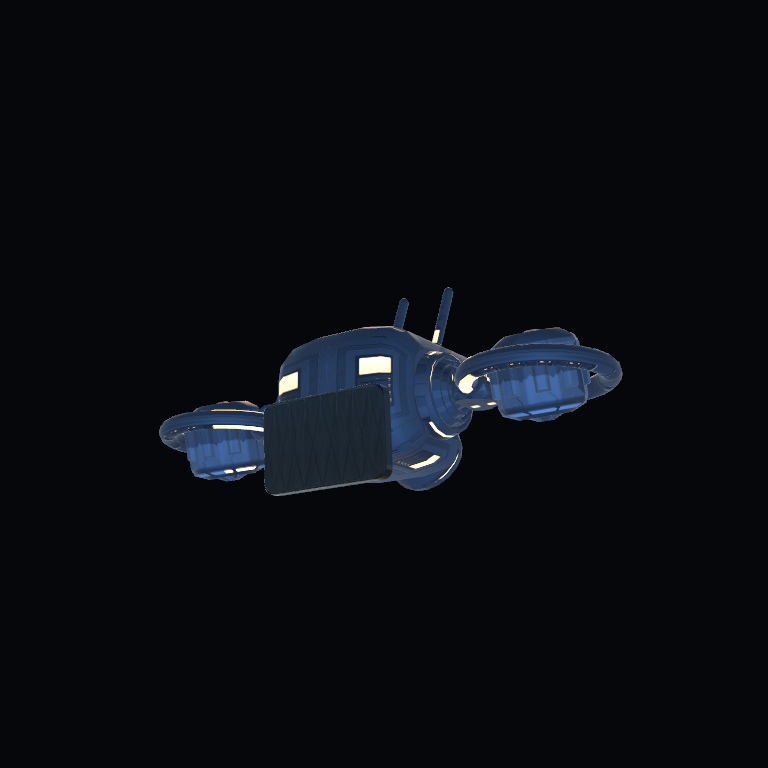
A panel-sided flying gunner, with energy fire in its authored campaign encounters.
Read its projectile direction and aim at the exposed body as it changes position.
Cycles between a protective shield and a brief exposed window.
Time your damage for the shield-down phase; the active shield blocks incoming damage.
Seeks damaged allies and restores their health with a sustained repair beam.
Break the repair chain early by prioritizing the healer over the enemy it is restoring.
A slow-moving beam attacker that delivers sustained energy damage.
Keep moving when it fires and move clear of the beam instead of racing its damage.
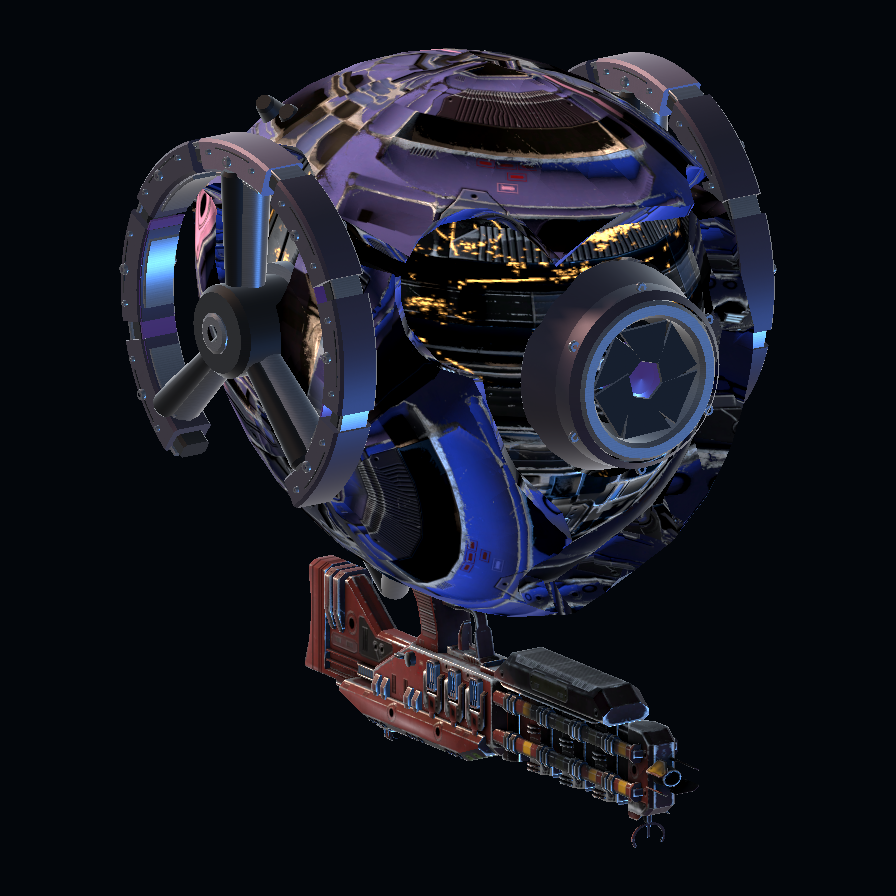
An oversized flying gunship with a vulnerable eye and repeated burst attacks.
Use the eye opening for precise hits while continuing to read its incoming projectiles.
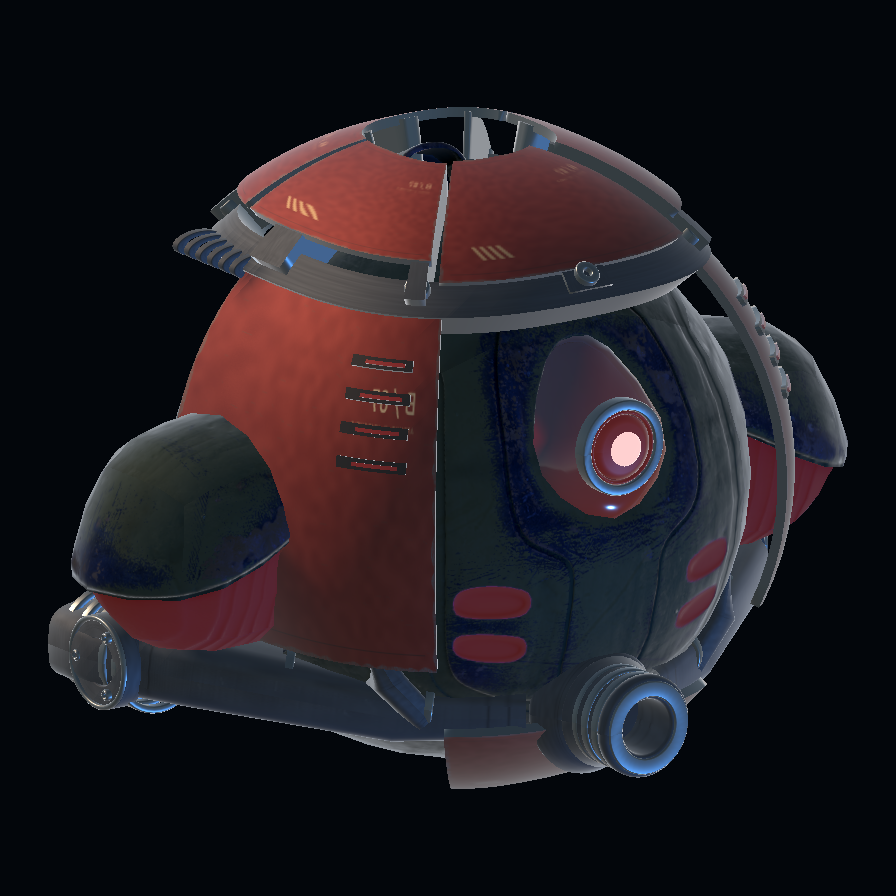
A slow armored heavy with a rotating eye and sustained burst-fire pressure.
Use energy or heat against its armor; kinetic weapons deal reduced damage.
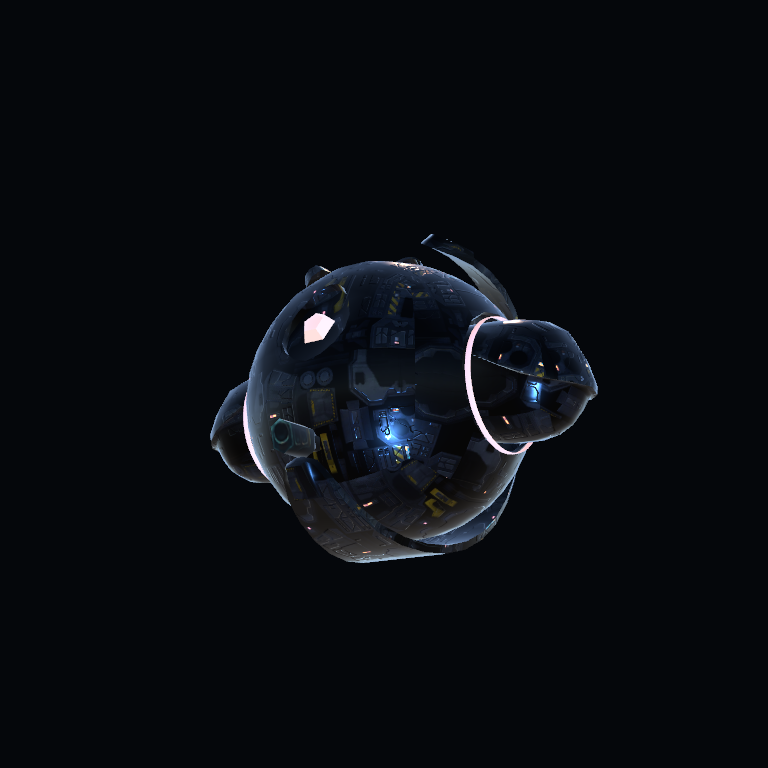
Protects its main body until its attached defensive parts are destroyed.
Destroy the attached parts first, then focus your damage on the exposed main body.
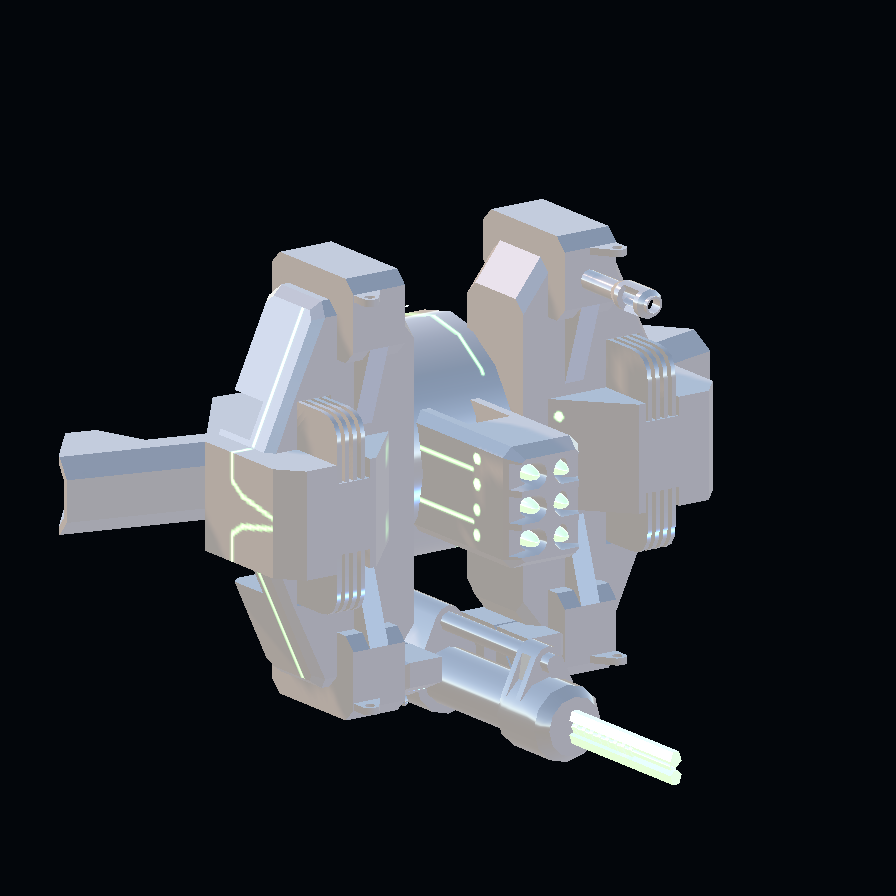
A large boss built around a concentrated array of weapons.
Keep the whole weapon array in view and return fire between its bursts.
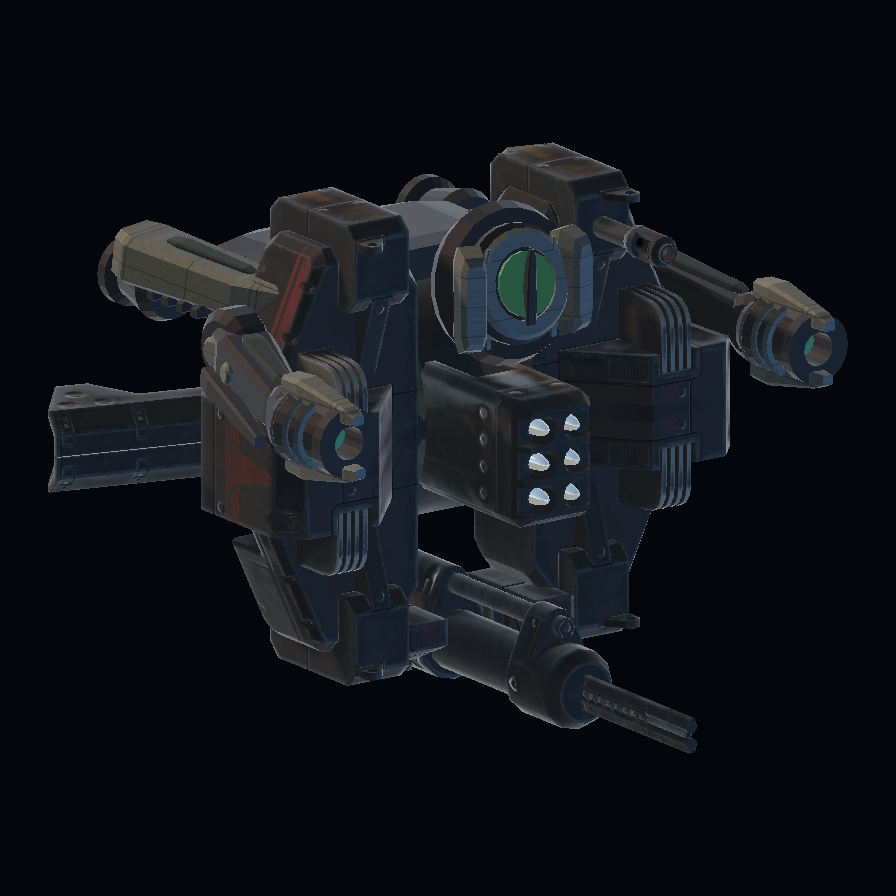
A four-armed gunner that unleashes long, rapid projectile barrages.
Watch the firing pattern across all four arms and keep room to dodge the next volley.
A larger four-arm variant that spreads its projectile barrages over a wider area.
Read the gaps in its wide spread and avoid letting its silhouette hide smaller enemies.
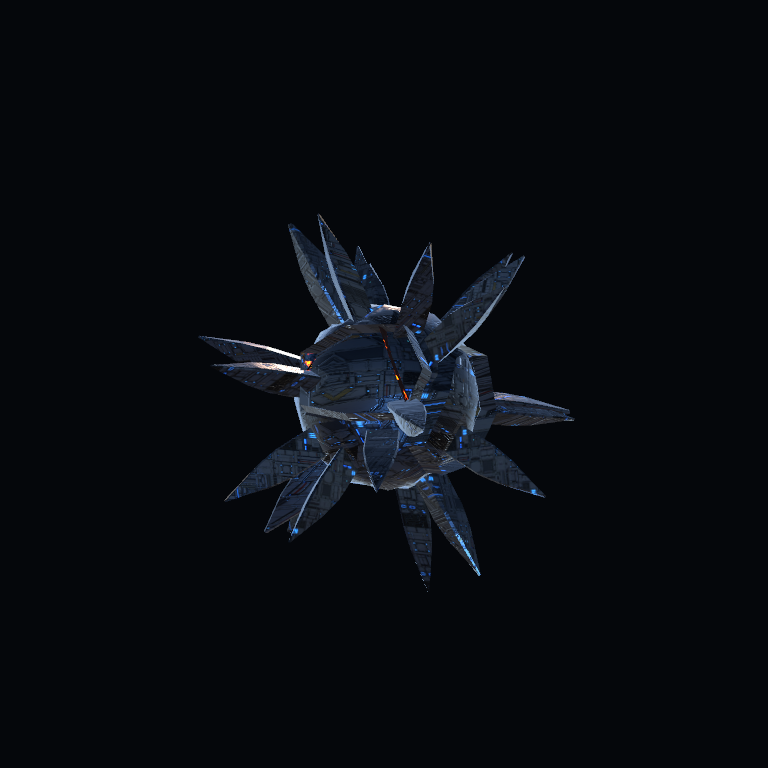
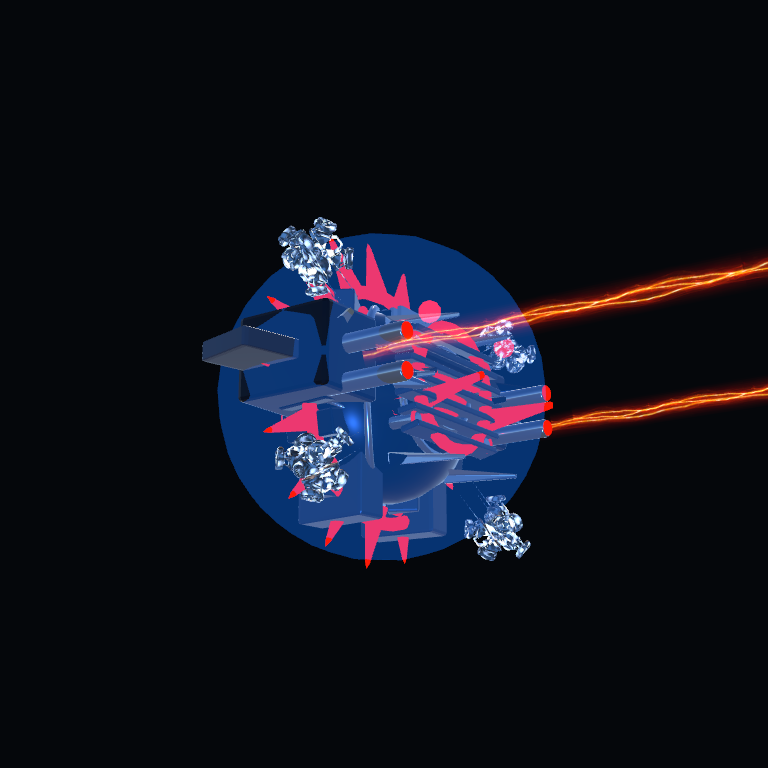
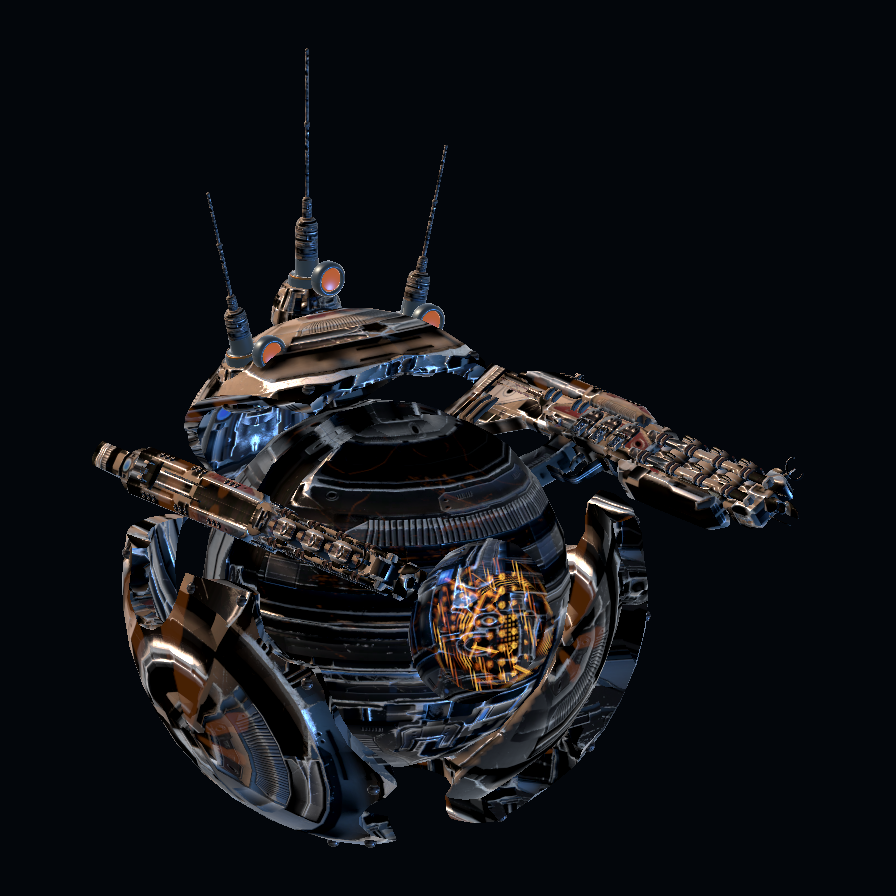
A colossal multi-phase enemy with weapon arms, destructible defenses and spawning eyes.
Break the eyes and shield generators, read the platform warnings, then exploit each exposed phase.
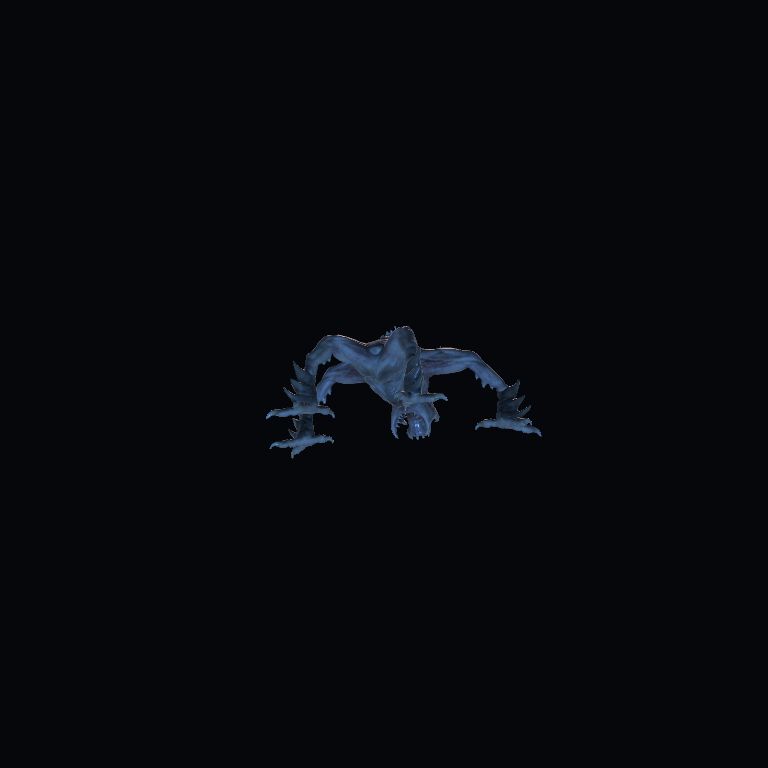
A low-slung ground creature that closes the distance for melee attacks.
Watch the ground approach and move when it winds up a close-range attack.
An organic ground attacker with several size, speed and approach-path variants.
Clear the faster approaches early and keep your attention on its attack windup.
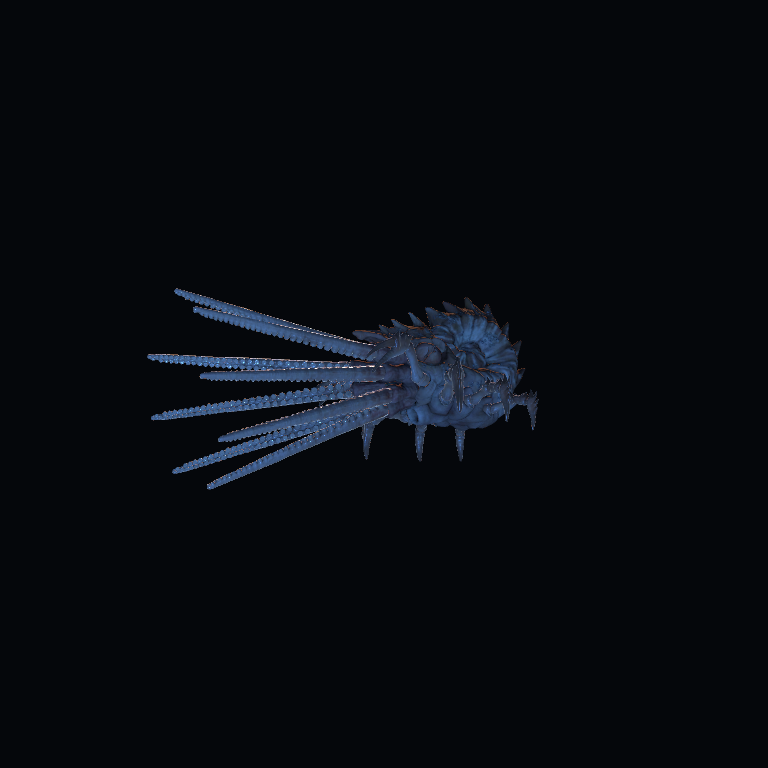
A giant tentacled ground boss that dominates the arena at close range.
Track its approach and attack warnings while keeping the surrounding arena in view.
An introductory opponent with a text display that reacts when hit.
Use this slower encounter to practice aiming independently and reading enemy movement.
Adds a visibly charged artillery shot to its regular ranged attacks.
Read the charge and prepare to dodge the released shot; energy or heat handles its armor.
Size refers to the original chassis; specialist attachments are excluded.
Temporarily phases out of damage and retreats after taking enough hits.
Hold your fire during the phase, track the retreat and re-engage when it becomes vulnerable.
Size refers to the original chassis; specialist attachments are excluded.
Nullifies damage to nearby allies while other Nullifiers remain attackable.
Follow the cyan protection cues to the source and attack it during its shield-down window.
Size refers to the original chassis; specialist attachments are excluded.
Releases three smaller droids at its position when destroyed.
Leave yourself an escape angle before the kill and be ready to clear the three new targets.
Size refers to the original chassis; specialist attachments are excluded.
Periodically repairs damaged allies within its surrounding area.
Prioritize the repair source; energy or heat avoids the kinetic penalty against its armor.
Size refers to the original chassis; specialist attachments are excluded.
Gains movement and firing speed when its health falls below half.
Prepare to finish it after the enrage threshold instead of leaving a faster threat active.
Size refers to the original chassis; specialist attachments are excluded.
Fires accurate, fast energy projectiles after a long interval between shots.
Keep distant firing angles in view and take advantage of the long gap between shots.
Size refers to the original chassis; specialist attachments are excluded.
Closes in to drain the player's health and restore its own.
Create distance to break the drain range and use heat against its ghost armor.
Size refers to the original chassis; specialist attachments are excluded.
Shortens nearby allies' shot cooldowns to increase their firing pressure.
Remove the commander before a cluster of ordinary shooters becomes a much faster firing line.
Size refers to the original chassis; specialist attachments are excluded.
Cycles between normal, armored and ghost defenses during combat.
Watch the armor color changes and switch damage types to match its current defense.
Size refers to the original chassis; specialist attachments are excluded.
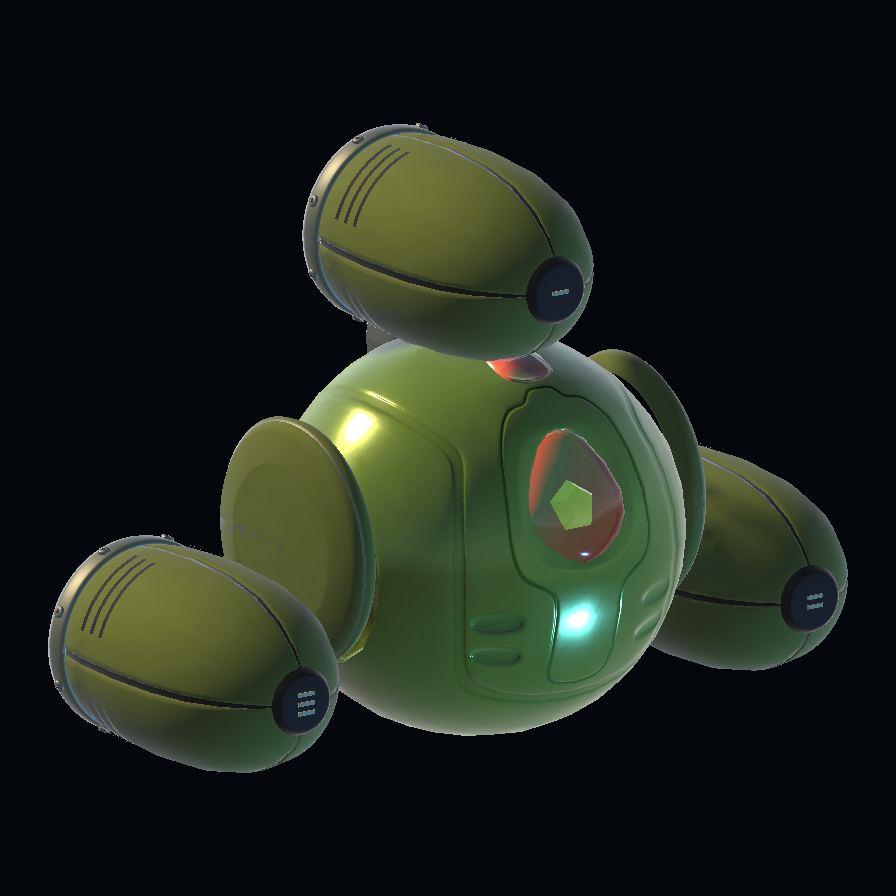
A friendly hovering menu droid that looks toward the player when approached.
A familiar face at the menu between trips into the void.
Try another name, defense, or threat level.
Intel only gets you so far.
Find your counter in the arsenal04 / Bigger threats
The waves are only the beginning. Face towering bosses, break through their defenses, and keep moving when the whole platform becomes a target.
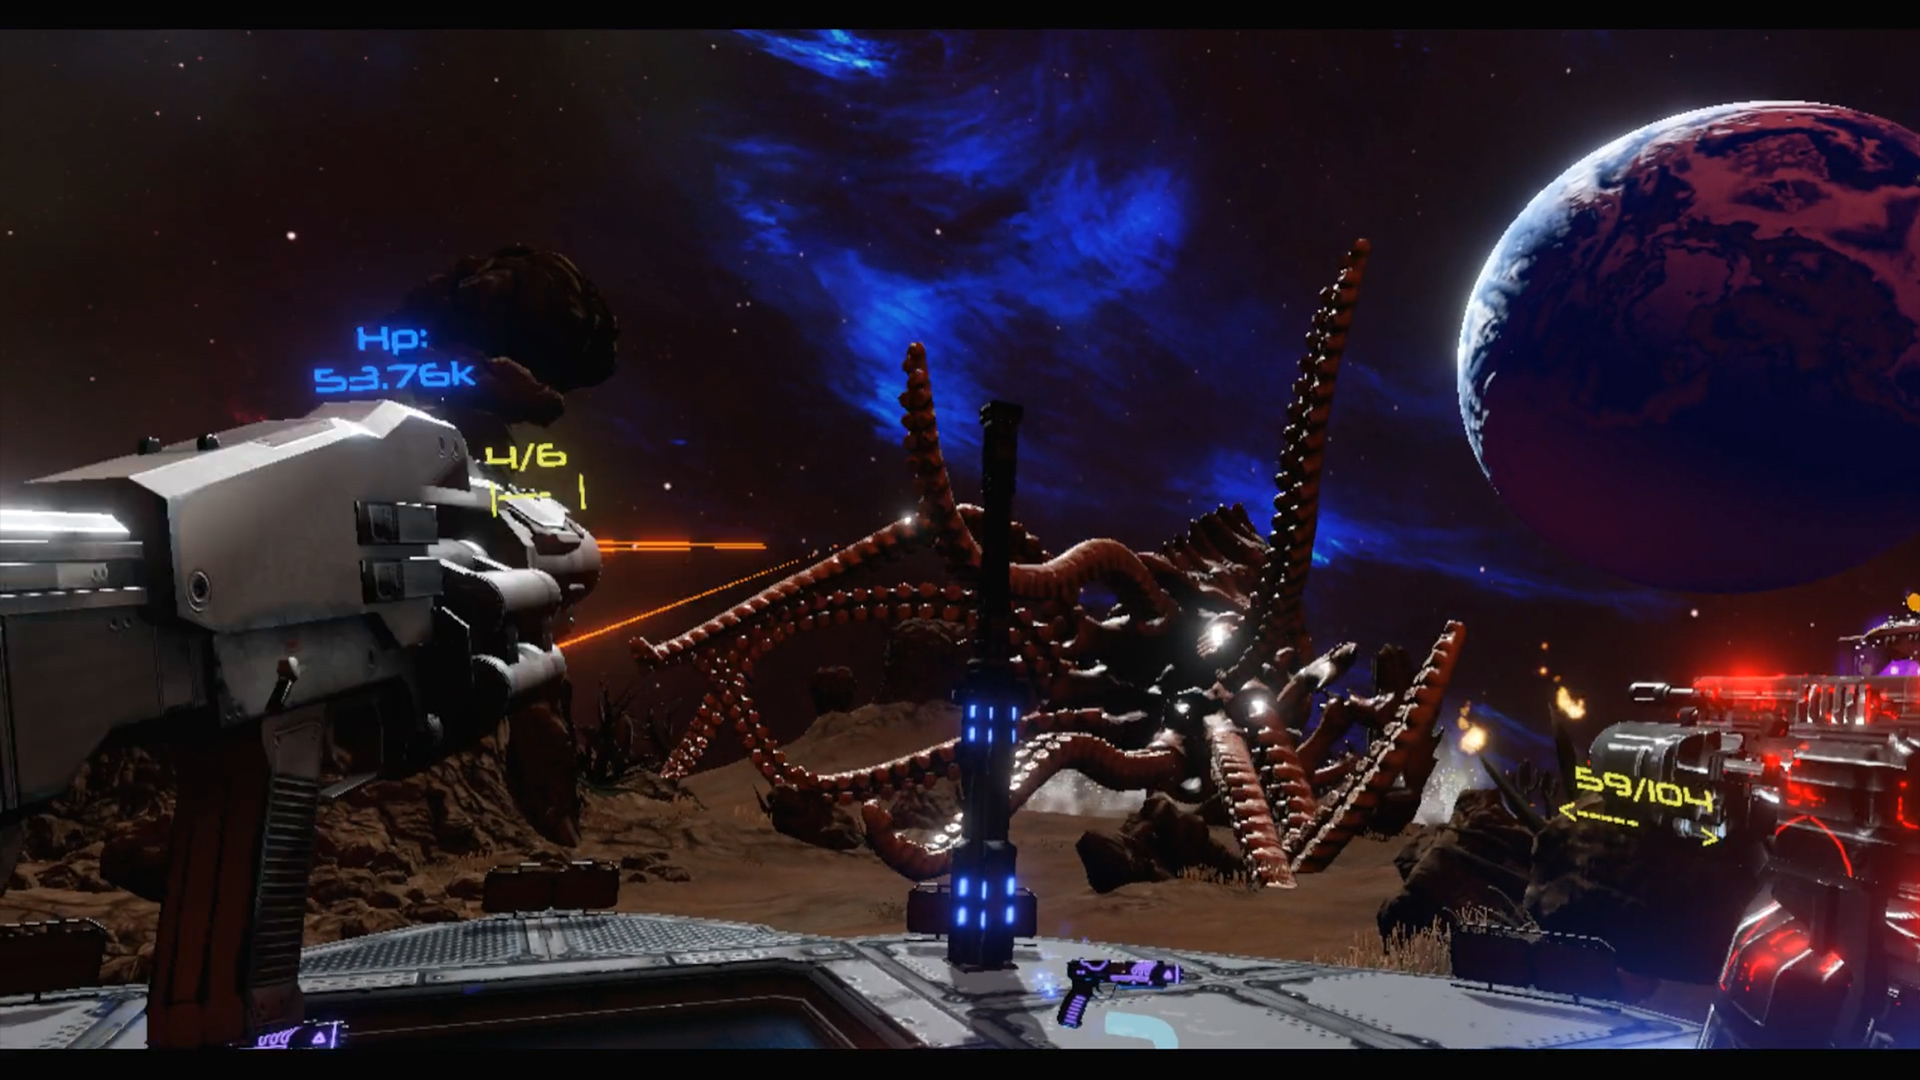 Threat level / Boss
Watch for exposed weak points. Choose where you aim carefully: a well-placed hit can do more than a spray of fire.
In the final encounter, beams and platform attacks force you to react. Watch the warning, then move before the strike lands.
The final boss protects its body behind layers of defenses. Take out the eyes and shield generators to open the way to the finishing fight.
Gameplay image from the Steam release.
05 / The ranger's routine
The next mission starts at your weapon bench. Make every reward count, then head back out and see what your new loadout can do.
Aim independently, switch weapons, and pick your targets. Read the incoming threats, dodge attacks, and hold your ground in room-scale VR.
Earn randomized equipment, compare your finds, and upgrade weapons and armor. Sell what you don't need and invest in the gear you love.
Take on campaign bosses or keep fighting in endless mode. Protect your kill streak, chase a better score, and climb the Steam leaderboards.

Your next assignment awaits
Suit up. Find your favorite weapon. Give the machines a reason to fear you.
View Void Rangers on Steam PC VR · A compatible headset and tracked controllers are required.